
Why DTF File Prep Matters
DTF printers are precise machines, but they can only print what you give them. If your file is 72 DPI, has a white box behind the design, or is saved at 2 inches wide when you wanted it at 10 inches, no operator can rescue it without going back to you for a new file. That costs time, and if you are on a deadline for a customer order, it can cost the sale.
The good news: DTF file prep is not complicated. Once you understand the four rules -- PNG format, transparent background, 300 DPI, and correct physical size -- you can prep artwork in almost any design app. This guide walks through each rule, why it exists, and the quick checks that make the difference between a print-ready file and a return-to-sender.
If you are brand new to DTF and want the bigger picture on how transfers work, start with our complete DTF beginner's guide, then come back here for the file setup.
Why PNG Beats JPG, PDF, and SVG for DTF
Almost every DTF shop asks for PNG files, and there is a specific technical reason. PNG is the only common raster format that supports full alpha transparency at print quality. That transparency is what tells the printer where NOT to lay down ink. JPGs cannot do that. PDFs and SVGs can technically hold transparency, but they behave unpredictably when passed through DTF RIP software.
The Quick Comparison
| Format | Transparency | DTF Ready? | Best Use |
|---|---|---|---|
| PNG | Yes -- full alpha channel | Yes -- preferred | Every DTF submission |
| JPG / JPEG | No -- always solid background | No | Photos on white backgrounds only |
| Sometimes | Risky -- can rasterize badly | Print sheets with text | |
| SVG | Yes -- vector | Only if converted to PNG first | Logos, simple vector art |
| AI / PSD | Yes | Only for shops offering design help | Working files, not final submission |
| TIFF | Yes | Sometimes accepted | Photo prints, large files |
Stick with PNG unless a specific shop tells you otherwise. It is the safest format, it opens correctly in every RIP, and it preserves the transparency your DTF printer needs.
Transparent Backgrounds: The #1 DTF Rule
This is the single most common failure point in DTF file prep. If your PNG has a white background instead of a transparent one, the printer will lay down a rectangle of white ink around your entire design. When you press it onto a black shirt, you get a bright white box outlining your artwork -- exactly what you did NOT want.
Transparent backgrounds are what let the fabric show through around the edges of your design. That is the whole magic of DTF on dark colors: the white ink underbase only prints where your artwork exists, so the shirt color stays visible everywhere else.
How to Check for Transparency
Open your PNG in any image viewer or your design app. If you see a checkerboard pattern behind and around the design, the background is transparent. If you see solid white (or any solid color), it is not transparent yet. Some viewers show transparency as black -- always confirm in an app that displays a checkerboard.
How to Remove a White Background
In Photoshop, use the Magic Wand or Select Color Range tool to select the white, delete it, then save as PNG. In Procreate, hide or delete the background layer before exporting. In Canva, use the Background Remover on Pro plans. In free tools, remove.bg or Photopea both handle background removal well. Save the result as PNG-24 (not PNG-8, which limits colors).
Semi-Transparent Areas
Watercolor edges, drop shadows, and soft brushes create partial transparency. DTF handles this reasonably well but not perfectly. Very faint edges (under about 20% opacity) may not print at all, and soft shadows can look grainy. If a soft edge is important to your design, thicken it or bump the opacity up before exporting.
DPI and Resolution: The 300 DPI Standard
DPI stands for dots per inch. It is the density of pixels packed into every inch of your printed design. Screens display at 72 DPI, which is why an image that looks crisp on your phone can look terrible when printed at full shirt size. DTF, like most professional printing, expects 300 DPI at final print size.
What Happens at Lower DPI
| DPI at Print Size | Result |
|---|---|
| 300 DPI | Sharp, professional, exactly what you want |
| 200 DPI | Acceptable for softer artwork; text may look slightly soft |
| 150 DPI | Visibly soft; fine lines and text lose crispness |
| 72 DPI | Blurry, pixelated, jagged edges -- do not print |
The DPI Trap Nobody Warns You About
You can technically save any file at 300 DPI, but that number is meaningless if the original artwork was small. Upscaling a 500-pixel-wide image to 3000 pixels wide at 300 DPI does not add detail -- it just spreads the existing pixels thinner. The result still looks pixelated.
The right way to think about it: your artwork must have enough native pixels to fill your intended print size at 300 DPI. A 10-inch-wide chest print at 300 DPI needs to be at least 3000 pixels wide in the original file. If your source art is only 1500 pixels wide, do not stretch it -- either use it smaller (up to 5 inches) or redraw it larger from the source.
How to Check DPI in Your File
In Photoshop, go to Image > Image Size and look at the Resolution field. In Procreate, tap the wrench > Canvas > Canvas Information. In Canva, DPI is set automatically when you download as PNG for Print. In any tool, the ratio is: pixels wide divided by inches wide equals DPI. Do the math before you send.
Sizing Your DTF File at Actual Print Size
Set your canvas to the exact physical dimensions you want the transfer printed. If you want a 10-inch chest print, your canvas is 10 inches wide (or 3000 pixels wide at 300 DPI). Do not send an 18-inch design and expect the shop to scale it down for you -- scaling introduces artifacts and adds a step where mistakes happen.
Common DTF Transfer Sizes
| Placement | Typical Width | Fits |
|---|---|---|
| Infant chest | 5" | 0-24 month bodysuits |
| Toddler chest | 6-7" | 2T-5T shirts |
| Youth chest | 8-9" | Youth S-XL |
| Adult chest | 10-11" | Adult S-XL |
| Adult plus chest | 12-12.5" | 2XL and up |
| Left chest pocket | 3-4" | Polos, quarter-zips, pockets |
| Sleeve | 3-4" | Long sleeve accent |
| Full back | 11-12.5" | Team shirts, back designs |
When in doubt, size for the smallest garment in your run. You can always press a 10-inch design on an XL, but you cannot fit a 12-inch design on a youth medium. For custom quotes at unusual sizes, use our custom order form and include your artwork with dimensions noted.
Color Mode, Profiles, and Avoiding Muddy Prints
Most DTF RIPs prefer files in sRGB color space, which is the default for almost every design app and phone camera. sRGB is what you see on screen. When the RIP converts to CMYK for printing, it uses a color profile tuned specifically for DTF inks and white underbase behavior, which usually gives more predictable results than a CMYK file you converted yourself.
When CMYK Makes Sense
If you are working with a print shop that specifically asks for CMYK, or if you are proofing high-volume brand work where color accuracy is critical, convert to CMYK in Photoshop using the shop's recommended profile. Otherwise, leave your file in sRGB and let the RIP handle the conversion.
Colors That Shift the Most
Neon greens, bright oranges, hot pinks, and deep royal blues all shift a little on DTF because the CMYK gamut cannot exactly reproduce those screen colors. If your brand relies on a specific neon or fluorescent, request a printed proof before running a large batch. Grays and skin tones can also drift slightly warmer or cooler depending on the RIP profile.
The Pre-Send DTF File Checklist
Before you upload artwork, run through this checklist. It takes about 60 seconds and catches almost every common problem.
- File format is PNG (specifically PNG-24, not PNG-8)
- Background is transparent -- checkerboard visible around every edge
- Resolution is 300 DPI at the exact print size you want
- Canvas dimensions match the desired physical size in inches
- Color mode is sRGB (or CMYK only if your shop specifically requests it)
- All text is either flattened to raster or converted to outlines
- No stray pixels floating outside the main artwork (zoom in to check)
- Fine lines are at least 2 pixels thick at print size
- Small text is at least 6 pt at print size (8 pt is safer)
- File is saved with a descriptive name including size, e.g., "logo_10in_300dpi.png"
Once you have run this check, upload with confidence. For our full press instructions after the transfer arrives, see our heat press settings tool which walks through 300F/15 seconds for DTF on cotton, poly, and blends.
Common DTF File Prep Mistakes
Screenshotting a Design Instead of Exporting It
Screenshots are 72 DPI, no exceptions. Even a screenshot of a high-resolution design is a 72 DPI capture. Always export from the source app.
Using JPG Because "It Looked Fine"
A JPG always has a background. Even if the background is white and your shirt is white, the JPG artifacting around edges (especially in complex art) prints as visible ink. Convert to PNG with transparency and start over.
Sending the Wrong Layer
If you designed in Photoshop or Procreate, make sure you exported the flattened final art, not a working layer. Missing shadows, hidden backgrounds, or invisible masks all cause surprises at print time.
Assuming the Shop Will Fix It
A DTF shop's job is to print your file, not redraw it. Some shops offer paid design fixes, but most will simply ask you to resubmit. Setting your file up right the first time saves 24-48 hours on your turnaround.
Ignoring the Preview
Many shops send a preview or proof before printing. Look at it. Zoom in. Check the edges, the colors, and the size. This is your last chance to catch a problem before ink hits film.
Want ready-made designs prepped correctly from the start? Browse our DTF transfer catalog where every design is already print-optimized, or check out our faith-based transfers for popular seasonal drops.
Frequently Asked Questions
What DPI do I need for DTF transfers?
300 DPI at the exact size you want the transfer printed. Not 300 DPI on a tiny canvas, and not a low-DPI file stretched up. The source artwork itself must contain enough pixels to hit 300 DPI at the finished print size.
Can I use a JPG for DTF instead of PNG?
No. JPGs cannot store a transparent background, and DTF requires transparency for the printer to know where not to lay down ink. Convert to PNG with a fully transparent background before submitting.
How do I make my background transparent for DTF?
Use a background remover in your design app (Photoshop, Procreate, Canva Pro, Photopea, or remove.bg). Delete the background layer or select and delete the white areas, then export as PNG-24. Confirm you see a checkerboard pattern behind the design.
What size should my DTF file be?
Set the canvas to the exact width you want the transfer printed. Common adult chest sizes are 10 to 11 inches wide, youth is 8 to 9 inches, and pocket prints are 3 to 4 inches. Always size at 300 DPI native pixels, not by scaling.
Should I send my DTF file in sRGB or CMYK?
sRGB unless your shop specifically requests CMYK. The RIP software converts sRGB to DTF-tuned CMYK using profiles built for DTF inks, which is usually more accurate than converting yourself.
Why does my DTF transfer have a white outline around it?
The file was submitted with a white or non-transparent background, so the printer laid down white ink across the entire rectangle. Re-export with a genuine transparent background and reprint. This is the single most common DTF file prep mistake.
Previous
Custom Heat Transfers with No Minimum: How Small-Batch DTF Works
Next
DTF Transfer Placement Guide: Chest, Pocket, Back and Sleeve Sizing
Shop DTF Transfers
View all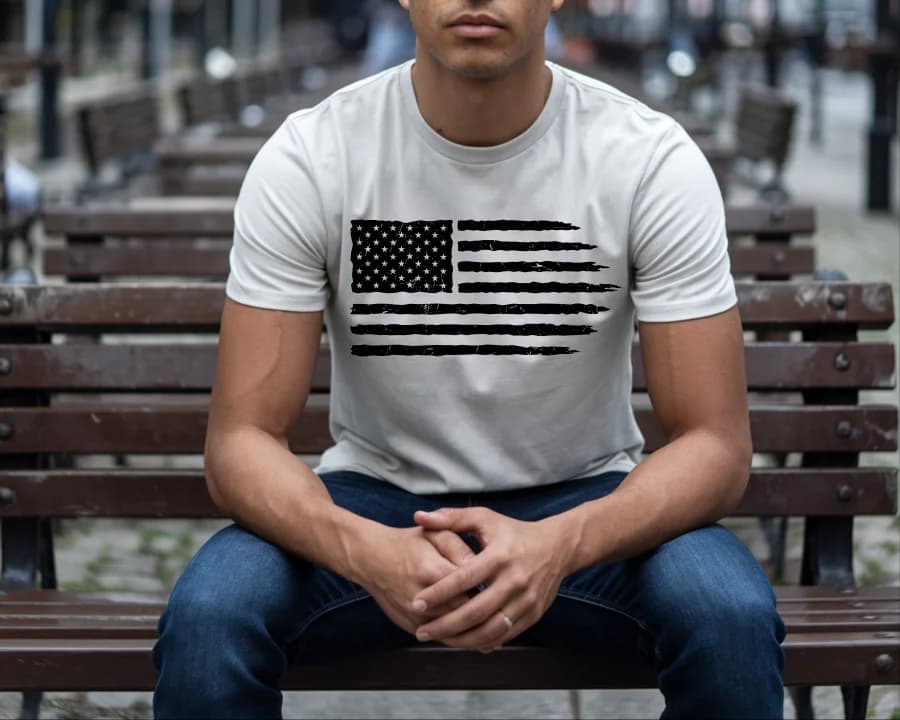
DTF Transfers
Grunge Flag
High Quality DTF Transfers, Ready to press Heat Transfers
DTF Transfers
Gamers Life Ready-To-Press DTF Transfer
High Quality DTF Transfers, Ready to press Heat Transfers
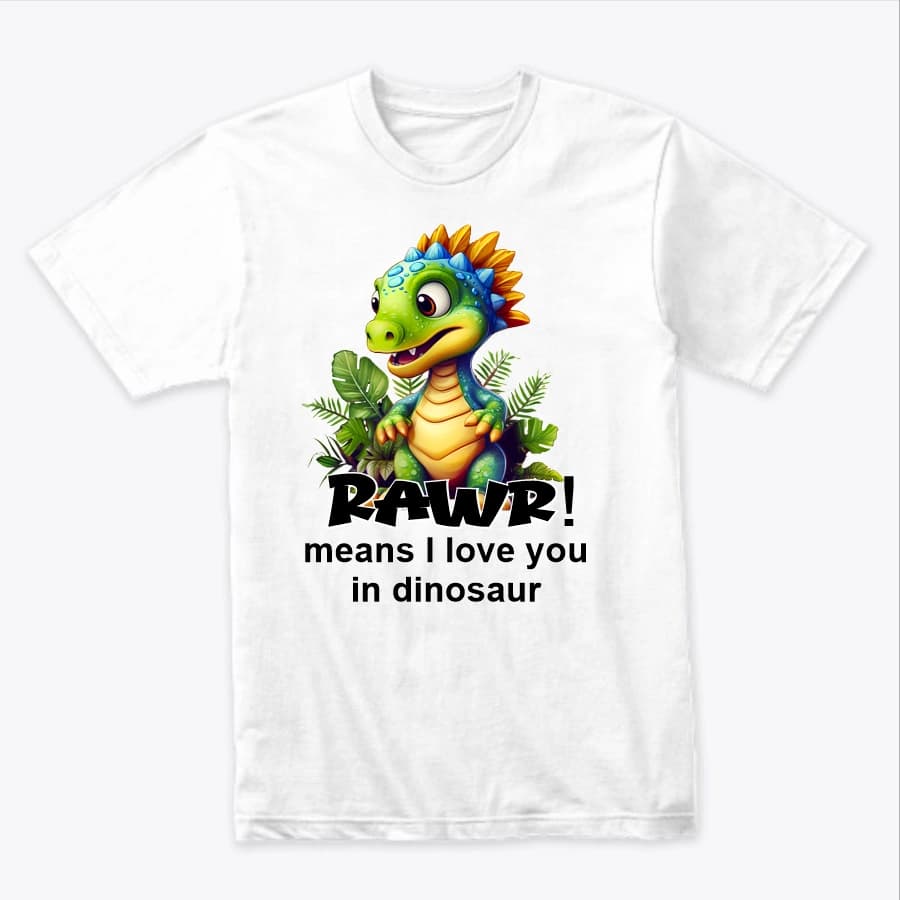
DTF Transfers
Rawa means I Love You
Rawa means I Love You -- Heat-applied DTF transfer for cotton, polyester, and any color fabric. Soft-feel finish, no weeding required.
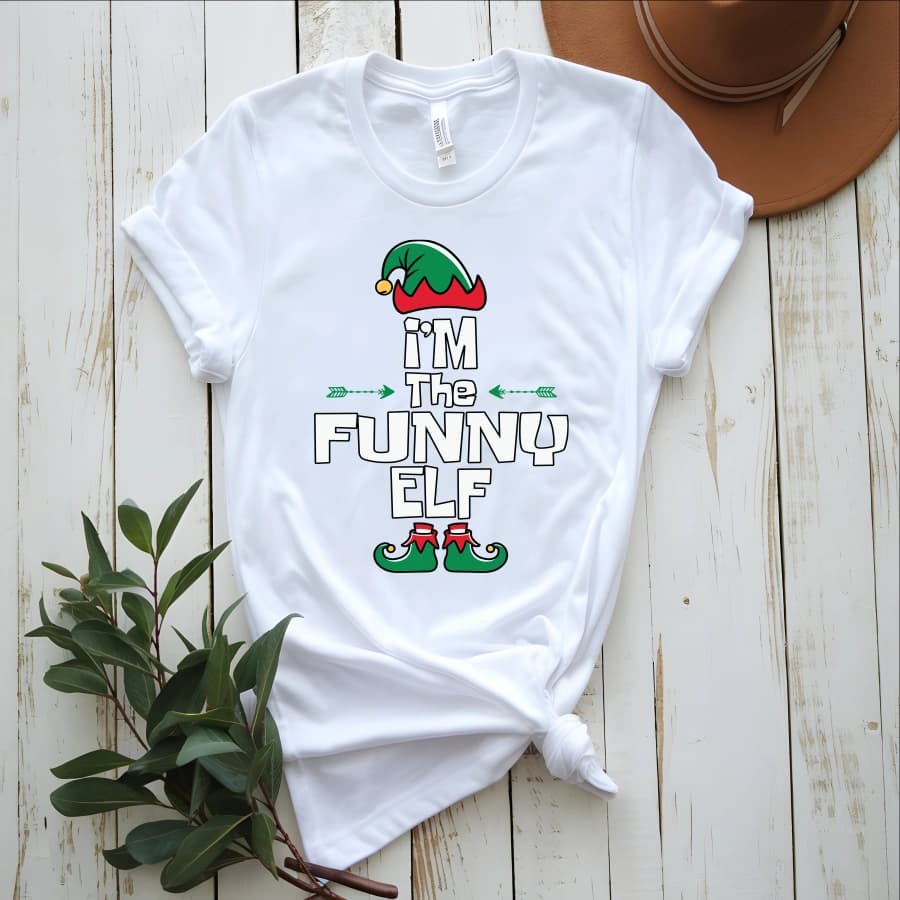
DTF Transfers
I'm the funny elf
I'm the funny elf -- Heat-applied DTF transfer for cotton, polyester, and any color fabric. Soft-feel finish, no weeding required.
Ready to press your next design?
Shop premium DTF transfers and sublimation products. No minimums. Ships in 2-3 business days.
Browse All Products