
Why Placement Matters
You can nail every heat press setting on our heat press settings tool, use the freshest film, and still end up with a shirt that looks off. Nine times out of ten the culprit is placement. A left-chest logo that is a half inch too high, a back print that is centered on the shirt instead of the wearer, or a sleeve design that wraps oddly around the seam all read as "homemade" even when the print quality is perfect.
Good placement is what separates a hobbyist shirt from a retail-ready one. Fortunately, the rules are consistent, easy to memorize, and the same measurements have been used by screen printers, embroiderers, and DTF shops for decades. Once you learn them, you can eyeball most placements in seconds.
Tools You Need
You do not need much to get placement right, but a few small tools save a lot of guesswork:
- A cloth measuring tape or clear ruler for measuring down from the collar.
- A T-square or alignment ruler for confirming your transfer is level.
- Heat-resistant painter's tape to tack the transfer in place before pressing.
- A placement tool or laser alignment guide if you press in volume (optional but a huge time saver).
Some crafters use a folded piece of paper as a "spacer" between the collar and the top of the transfer. That works fine for a single project, but if you are running more than a handful of shirts, invest in a reusable placement ruler.
Left-Chest and Pocket Placement
Left-chest prints are the workhorse of custom apparel. Company polos, staff tees, gift shirts, and everyday branded merch all live in this zone. The classic left-chest print is 3.5 to 4 inches wide for adult sizes, positioned so the top edge of the design sits roughly 4 inches down from the shoulder seam and 4 inches in from the center of the collar.
Standard Left-Chest Coordinates
- Adult S to XL: 3.5 to 4 inches wide, top edge 7 to 9 inches down from the shoulder seam.
- Adult 2XL and up: 4 to 4.5 inches wide, top edge 8 to 10 inches down.
- Ladies' cut tees: shift 0.5 inch toward center to avoid the bust curve.
Pocket-Area Prints
If the shirt has an actual sewn pocket, treat the pocket as your reference. A "left-chest" design on a pocket tee usually sits just above the pocket seam or replaces the pocket entirely. Keep the design width to about 3 inches so it does not spill past the pocket edges. On pocketless tees, the "pocket zone" and the left-chest zone are the same location.
Full-Front Chest Placement
Full-front prints -- the big graphic tees you see everywhere -- feel like they should be centered top to bottom on the shirt, but they should not. A design centered on the fabric ends up looking like it is sitting on the wearer's stomach. Instead, position the top edge 3 to 4 inches below the collar seam.
For a standard adult unisex tee, a full-front DTF transfer is typically 10 to 12 inches wide. Youth sizes drop to 7 to 9 inches, and oversized adult sizes can go up to 13 inches. The design's horizontal center should line up with the center of the collar, not the center of the shirt hem (they are usually the same, but not always on ladies' cuts).
Full-Back and Upper-Back Placement
Back prints follow similar logic. There are two common styles:
- Full back: 11 to 14 inches wide, top edge 3 to 4 inches below the back collar seam.
- Upper back / yoke: 10 to 12 inches wide, sitting between the shoulder blades, with the top edge 2 to 3 inches below the collar.
Upper-back prints are common for team names, event branding, or a large logo above a smaller full-back graphic. If you are pairing a left-chest with a back print, keep the back print slightly larger so the shirt reads as a complete design rather than two disconnected prints.
Sleeve Placement
Sleeve prints are one of the highest-value upgrades you can offer on a custom shirt. They cost pennies in transfer material but make a plain tee look like a designed product. The tricky part is that sleeve prints wrap around a curved surface, so alignment matters.
Short-Sleeve Placement
Center the transfer on the bicep, roughly 1 to 1.5 inches below the shoulder seam. Standard sleeve transfers are 3 to 3.5 inches wide for adults and 2 to 2.5 inches for youth. Always orient the design so it reads correctly when the arm is at the wearer's side.
Long-Sleeve and Forearm Placement
Long-sleeve prints sit either on the bicep (same as short sleeve) or vertically down the forearm. For a forearm print, orient the design so it reads from the wearer's perspective (top of the design toward the shoulder). Forearm prints are typically 2 to 3 inches wide and 8 to 12 inches long.
Hoods, Hats, and Bags
DTF is not limited to tees. Hoodies, hats, canvas totes, and aprons all take DTF beautifully when placement is planned. A few quick rules:
- Hoodie front pocket: Do not press across the pocket seam or drawstring channel. Stick to left chest or upper chest only.
- Hoodie back: Same numbers as a tee, but start 4 to 5 inches below the collar to account for the hood.
- Hats: Center the design 0.5 to 0.75 inches above the brim. A hat press or lower platen attachment is strongly recommended.
- Tote bags: Center horizontally, and place the top edge 3 to 4 inches below the top hem.
Youth and Toddler Sizing
Kids' apparel needs its own set of numbers because shrinking an adult layout usually leaves designs floating awkwardly in space. Use these ranges as your starting point:
- Toddler (2T to 4T): Full front 5 to 7 inches wide, top edge 1.5 to 2 inches below the collar.
- Youth XS to S: Full front 7 to 9 inches wide, top edge 2 to 3 inches below the collar.
- Youth M to L: Full front 8 to 10 inches wide, top edge 2.5 to 3 inches below the collar.
- Left chest (all youth): 2.5 to 3 inches wide, top edge 4 to 5 inches down from the shoulder seam.
Quick Size Chart
Here is the whole guide in one table you can screenshot and pin above your heat press:
| Placement | Adult Size | Youth Size | Distance From Collar / Shoulder |
|---|---|---|---|
| Left chest / pocket | 3.5 to 4 in wide | 2.5 to 3 in wide | 7 to 9 in down from shoulder seam |
| Full front | 10 to 12 in wide | 7 to 9 in wide | 3 to 4 in below collar (adult); 2 to 3 in (youth) |
| Upper back / yoke | 10 to 12 in wide | 7 to 9 in wide | 2 to 3 in below collar |
| Full back | 11 to 14 in wide | 8 to 10 in wide | 3 to 4 in below collar |
| Sleeve (bicep) | 3 to 3.5 in wide | 2 to 2.5 in wide | 1 to 1.5 in below shoulder seam |
| Forearm (long sleeve) | 2 to 3 in wide, up to 12 in long | Not recommended | Reads shoulder to wrist |
| Hoodie front (above pocket) | 3.5 to 4 in wide | 2.5 to 3 in wide | 7 to 9 in down from shoulder seam |
| Hat front | 2 to 2.5 in tall, 4 to 5 in wide | 1.5 to 2 in tall | 0.5 to 0.75 in above brim |
| Tote bag | 8 to 10 in wide | N/A | 3 to 4 in below top hem |
Common Placement Mistakes
Even experienced pressers slip into these habits. Watch for them:
Centering on the Fabric Instead of the Wearer
Shirts are longer than they are wide because they need to cover the torso, but the visual "center" of a wearer is the upper chest and shoulders. Always measure down from the collar, not from the middle of the shirt.
Using the Same Numbers on Every Size
A 10-inch design centered 4 inches down works on a large tee. On a 2XL, that same design starts to look small. On a youth medium, it looks like a billboard. Scale your design up or down by roughly 10 percent per size step so the print looks proportional across your run.
Forgetting to Check for Tags and Seams
Some tees have printed neck tags on the inside that create a raised bump. Press over that bump and you can get a shiny spot or an uneven transfer. Check the inside of the collar before you lay your transfer down, and use a heat-resistant pillow if needed.
Ignoring the Fabric's Grain
Knits stretch. If you tug on the shirt while positioning the transfer, the design will look crooked after the shirt relaxes. Lay the shirt flat, smooth it out, and let it settle before you place your transfer.
Where to Go Next
If you are ready to order transfers sized for the placements above, our DTF transfer shop lets you enter exact width and height so you can match the numbers in this guide. Need a custom size or a gang sheet with mixed placements? Submit a custom order and we will lay it out for you. For inspiration on faith-based designs sized correctly out of the gate, browse our Christian collection.
Frequently Asked Questions
How far down from the collar should a DTF transfer go?
For most adult tees, the top edge of a full-front print sits 3 to 4 inches below the back collar seam. Left-chest prints sit 7 to 9 inches down from the shoulder seam. Youth sizes shrink those numbers by roughly one inch each.
What size DTF transfer works best for a left-chest logo?
The industry-standard adult left-chest size is 3.5 to 4 inches wide. Stay within that range even if your logo could technically go bigger -- oversized "left-chest" prints tend to look off-balance next to embroidery or standard-size logos on other garments.
Can I press a DTF transfer over a shirt seam or pocket?
Avoid it whenever possible. Seams and pocket edges create raised areas that prevent even pressure, leading to lifted corners or partial transfer. Use a heat-resistant pillow inside the shirt to isolate the print area if a seam cannot be avoided.
Does DTF transfer placement differ from screen print placement?
No -- the placement rules are identical. The only difference is that DTF makes it easier to reposition before pressing, since the transfer is a physical film you can lift and adjust. Screen prints commit the moment ink hits the shirt.
How do I keep placement consistent across a big order?
Cut a reusable placement template from cardstock or use a laser alignment tool on your heat press. Mark your target measurements once, then use the template on every shirt so every print lands in the exact same spot.
What temperature and time should I use once the transfer is placed?
ColorFuse DTF transfers press at 300F for 15 seconds with medium-firm pressure, cold peel. Sublimation transfers press at 400F for their own recommended times. See our heat press settings tool or FAQ for the full spec sheet.
Previous
DTF File Prep: PNG Requirements, Transparent Backgrounds, and DPI
Next
DTF vs HTV (Heat Transfer Vinyl): Which Should You Use?
Shop DTF Transfers
View all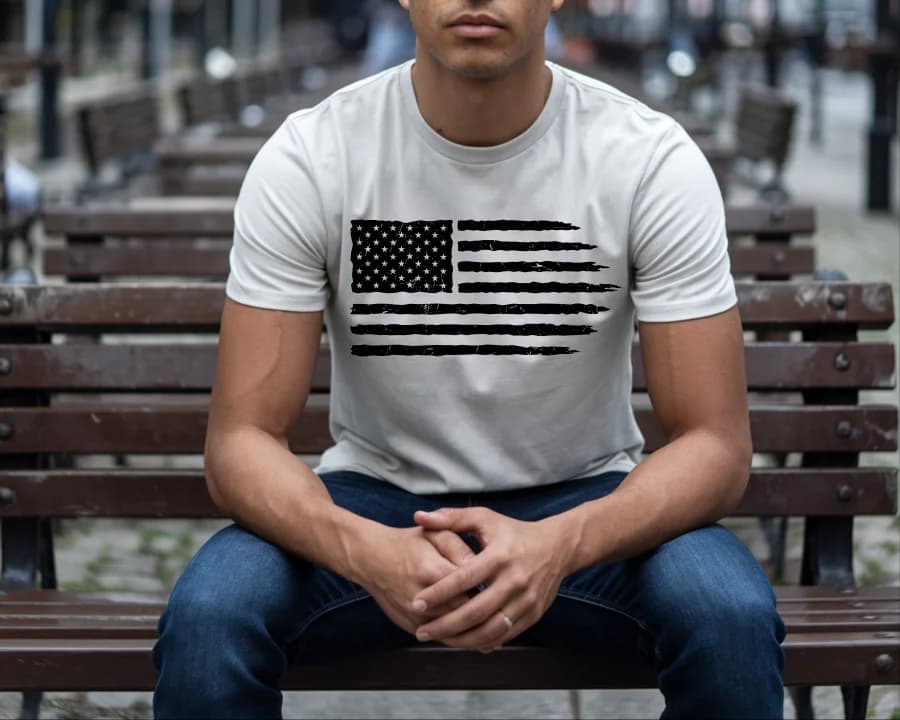
DTF Transfers
Grunge Flag
High Quality DTF Transfers, Ready to press Heat Transfers

DTF Transfers
Gamers Life Ready-To-Press DTF Transfer
High Quality DTF Transfers, Ready to press Heat Transfers
DTF Transfers
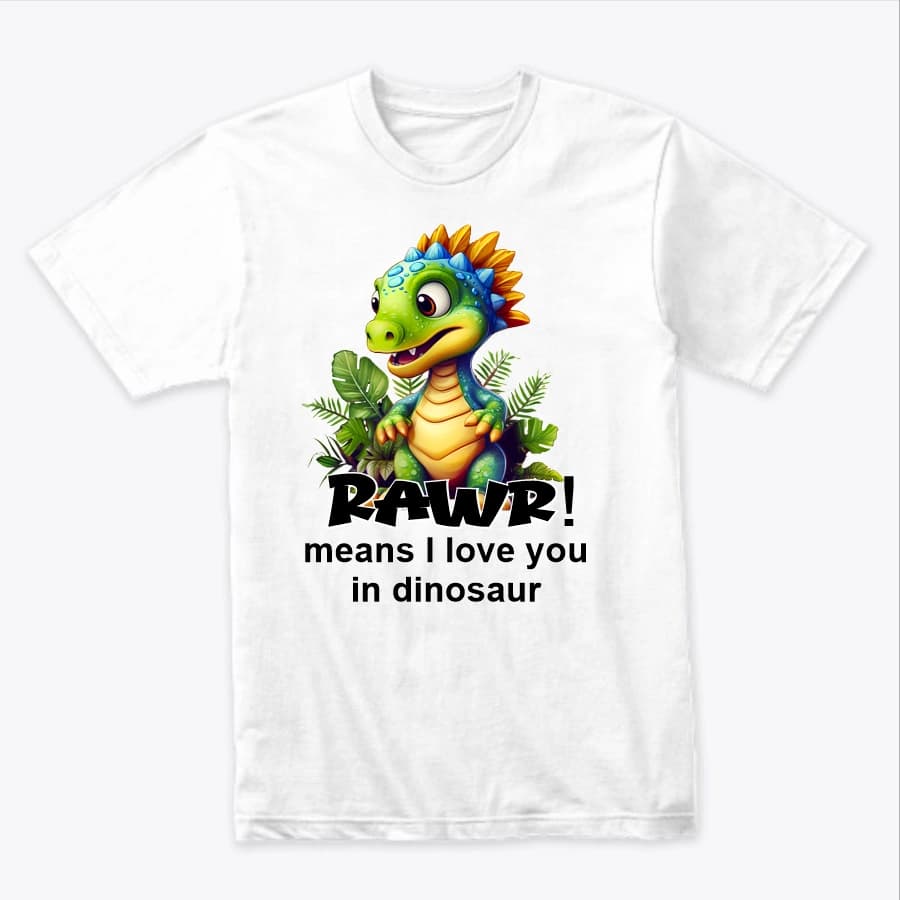
Rawa means I Love You
Rawa means I Love You -- Heat-applied DTF transfer for cotton, polyester, and any color fabric. Soft-feel finish, no weeding required.
DTF Transfers
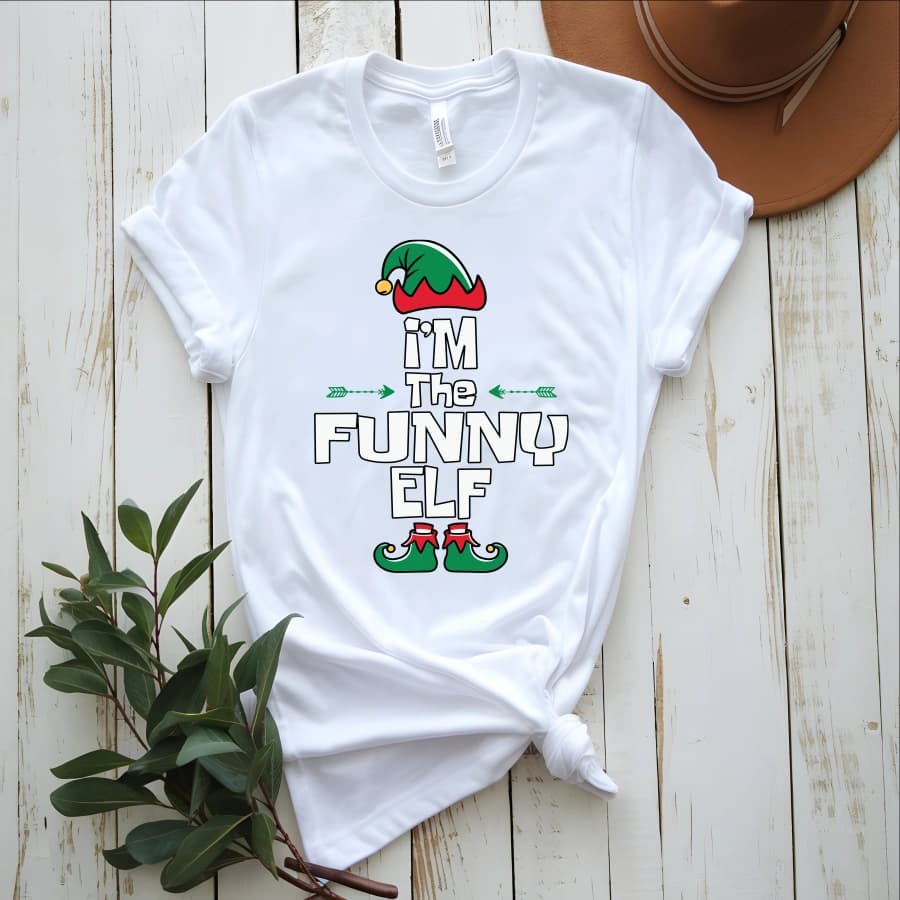
I'm the funny elf
I'm the funny elf -- Heat-applied DTF transfer for cotton, polyester, and any color fabric. Soft-feel finish, no weeding required.
Ready to press your next design?
Shop premium DTF transfers and sublimation products. No minimums. Ships in 2-3 business days.
Browse All Products