What Makes a Tumbler Sublimation-Compatible?
Not every tumbler can be sublimated. For sublimation to work, the surface must be coated with a polymer (plastic) layer that accepts sublimation dye. When heat and pressure are applied, the dye converts from a solid to a gas and bonds with the polymer molecules. On a bare stainless steel or aluminum surface, the dye has nothing to bond to and will not transfer.
When shopping for tumblers to sublimate, look for:
- Explicit "sublimation-coated" or "sublimation-ready" labeling — Reputable suppliers will specify this
- White or very light-colored exterior coating — The sublimation dye is transparent; any color in the coating will affect your design colors
- Smooth, consistent surface — Textured or brushed metal finishes produce uneven dye transfer
- Straight or uniformly tapered sides — Extreme taper angles make wrapping the transfer film difficult and can create alignment issues
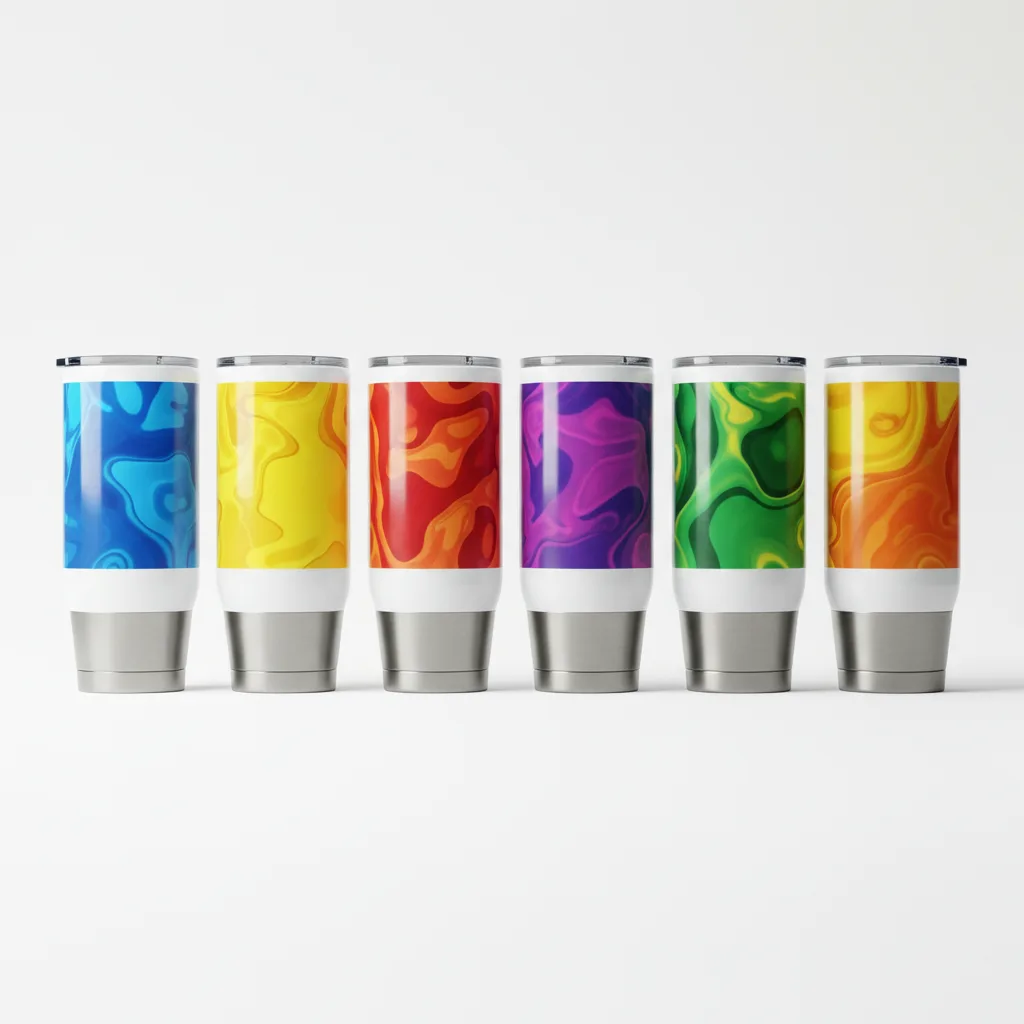
Popular sublimation-compatible tumbler styles include straight-wall 20oz and 30oz tumblers, travel mugs with straight sides, and sublimation-ready coffee mugs. The standard 30oz straight tumbler has become the industry standard for a reason — it is easy to work with and has broad customer appeal.
Equipment You Need
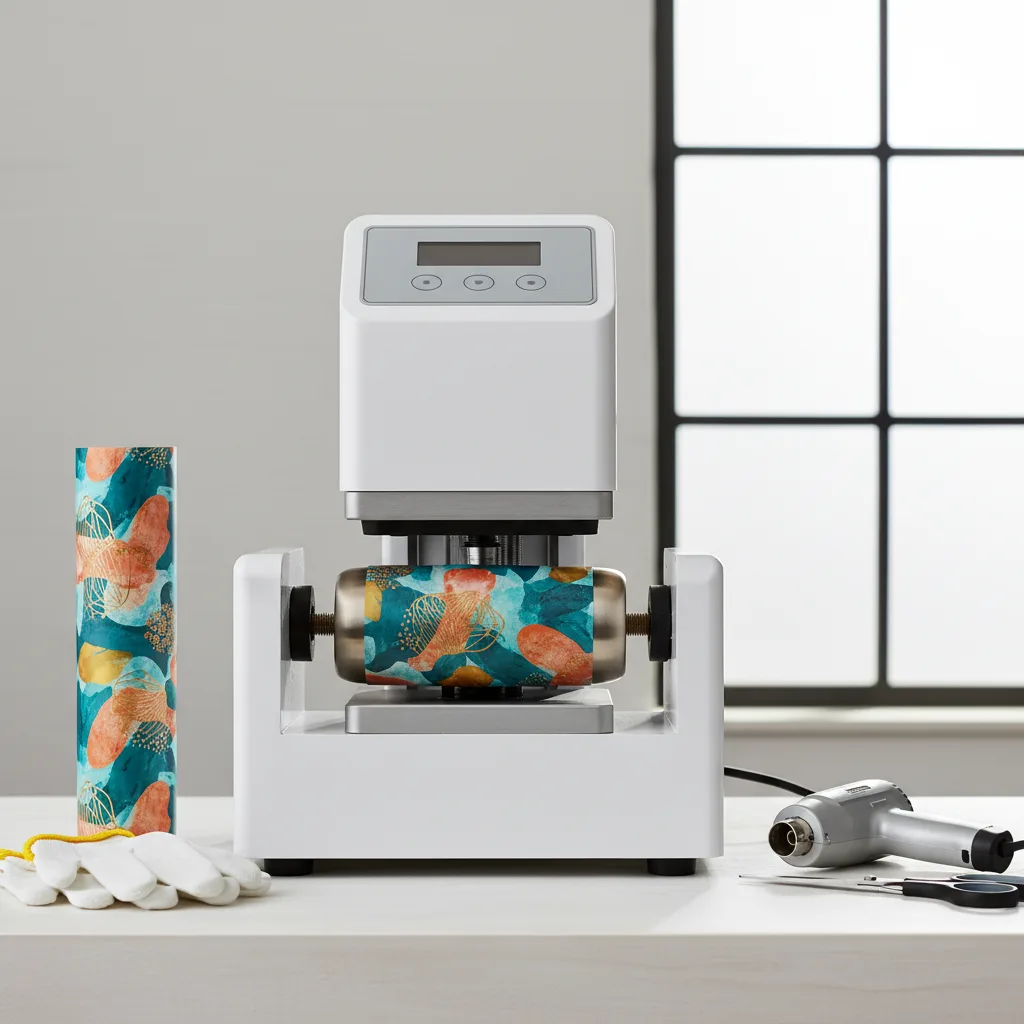
Tumbler Heat Press or Attachment
You cannot sublimate a tumbler with a flat heat press. You need one of the following:
- Dedicated tumbler heat press — A press specifically designed for cylindrical items. These use a curved heating element that wraps around the tumbler. Prices range from $80–300. Good entry-level options are widely available online.
- Convection oven method — Some sublimators use a standard convection oven (dedicated to printing — not the kitchen oven) to cure tumbler wraps. This method is slower but produces even heat distribution across the entire tumbler surface simultaneously.
- Tumbler attachment for flat press — Some flat heat press brands offer tumbler attachment accessories. These work but often require multiple presses to achieve even coverage.
Sublimation Transfers
ColorFuse Prints produces ready-to-press sublimation transfers sized and formatted for standard tumbler dimensions. These are printed on sublimation paper or transfer film and arrive ready to wrap and press. No sublimation printer or ink required on your end.
Heat-Resistant Tape
Sublimation tape (green or blue heat-resistant tape) holds the transfer wrap in position on the tumbler during pressing. Do not use regular tape — it will melt and stick to the tumbler.
Shrink Wrap or Butcher Paper
Shrink wrap (clear heat shrink sleeves sized for the tumbler) holds the transfer tightly against the tumbler surface during pressing for even contact. This method produces excellent results. Alternatively, butcher paper wrapped tightly and taped is a lower-cost option, though results can be less consistent.
Design Templates and Setup
Tumbler designs must be sized precisely to match your tumbler dimensions. Using the wrong template size causes designs to be cut off, not wrap fully, or overlap awkwardly at the seam.
Standard Template Sizes
| Tumbler Type | Design Width | Design Height |
|---|---|---|
| 20oz Straight Tumbler | 9.0" | 8.5" |
| 30oz Straight Tumbler | 9.5" | 8.25" |
| 30oz Tapered Tumbler | 9.25" (tapers) | 8.5" |
| 11oz Coffee Mug | 8.5" | 3.75" |
| 15oz Coffee Mug | 8.5" | 4.5" |
| 12oz Slim Can Cooler | 8.25" | 4.75" |
Design Tips for Tumblers
- Account for the seam: Where the left and right edges of your design meet when wrapped, there will be a visible seam line. Design so that this seam falls in a logical place (like between two design elements) or is hidden by the handle if using a mug.
- Keep important elements away from edges: Leave 0.25" margins at the top and bottom of your design so that slight misalignment does not cut off important design elements.
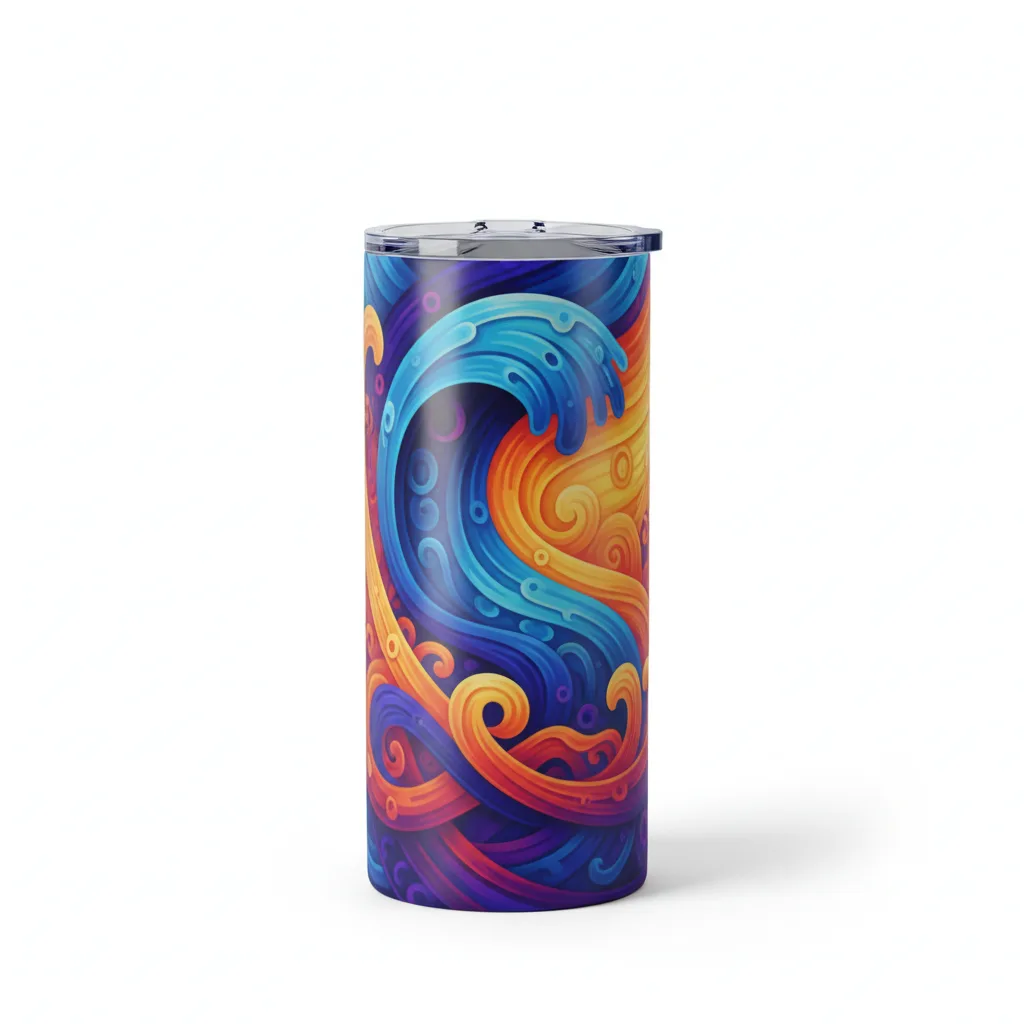
- Use the full color gamut: Sublimation on tumblers produces stunning vibrancy. Rich colors, gradients, and photographic elements all look exceptional on a white-coated tumbler surface.
- Test with a draft print: Before ordering finished transfers, wrap a test print (regular paper) around the tumbler to verify sizing and placement.
The Pressing Process
Method 1: Tumbler Heat Press
- Clean the tumbler — Wipe the outside with isopropyl alcohol and allow to dry fully. Remove all fingerprints and residue.
- Wrap the transfer — Place the transfer print-side against the tumbler surface. Wrap tightly with shrink wrap sleeve or use heat-resistant tape to secure it firmly at the top and bottom edges.
- Preheat the press — Allow the tumbler press to reach full temperature (see settings below).
- Press the tumbler — Place the tumbler in the press. Apply pressure per the press manufacturer's instructions and press for the recommended time.
- Remove and peel — Remove immediately from the press (sublimation is hot peel). Carefully peel the transfer paper while still hot. If you allow it to cool with the paper attached, condensation can cause ghosting.
- Inspect — Check for even coverage, color accuracy, and any ghosting or blurring. Allow to cool fully before handling the design area.
Method 2: Convection Oven
- Clean and wrap tumbler as above
- Preheat oven to 385–400°F
- Place wrapped tumbler on an oven-safe rack
- Bake for 4–6 minutes
- Remove immediately and peel while hot
Settings by Tumbler Type
| Method | Temperature | Time | Notes |
|---|---|---|---|
| Tumbler press (straight) | 385°F / 196°C | 60 sec | Rotate halfway through if press does not wrap fully |
| Tumbler press (tapered) | 385°F / 196°C | 75 sec | Tapered sides need extra time for even heat |
| Convection oven | 390°F / 199°C | 4–5 min | Best for full-wrap even coverage |
| Coffee mug press | 375°F / 190°C | 180 sec | Mugs have thicker walls — more time needed |
Common Mistakes and Fixes
Ghosting (Blurry Shadow Image)
Cause: Transfer was not peeled immediately after pressing, allowing steam from the tumbler to condense between the paper and the surface.
Fix: Always peel hot. Work quickly after removing from the press. If using shrink wrap, cut it off and peel the transfer in one continuous motion immediately after pressing.
Faded or Washed-Out Colors
Cause: Temperature too low, time too short, or tumbler surface is not properly sublimation-coated.
Fix: Increase temperature by 5°F and/or add 15 seconds of press time. Verify tumbler is genuinely sublimation-coated. If using a new tumbler brand, do a test press with an inexpensive design first.
Design Not Wrapping Fully
Cause: Transfer paper is not long enough for the tumbler circumference, or the transfer was not wrapped tightly enough.
Fix: Verify design dimensions match the tumbler template exactly. Wrap transfer more tightly, using shrink wrap for consistent contact. For tapered tumblers, account for the diameter difference between top and bottom when calculating wrap length.
White Spots or Blotchy Areas
Cause: Uneven pressure against the tumbler surface — typically from the transfer paper not being in full contact everywhere, or an air bubble trapped between transfer and tumbler.
Fix: Use shrink wrap sleeves instead of tape for more consistent contact. Ensure the tumbler is completely clean and dry before wrapping.
Care Instructions for Sublimation Tumblers
Sublimation on polymer-coated tumblers is extremely durable under proper care conditions:
- Hand wash recommended — Dishwasher safe ratings vary by tumbler brand. High-heat dishwasher cycles can damage the polymer coating over time, degrading the sublimation image. Hand washing is always safer.
- No abrasive cleaners — Steel wool, abrasive sponges, or harsh cleaning powders will scratch the polymer coating and damage the sublimation image.
- Avoid sustained UV exposure — Sublimation dyes can fade with prolonged UV exposure, just like any dye. Tumblers stored in direct sunlight for extended periods may see slight fading over months/years.
- No soaking — Do not soak the tumbler exterior (the inside is fine). Prolonged water exposure can seep under the polymer coating at scratched or chipped areas.
When cared for properly, sublimation on a quality polymer-coated tumbler will maintain its vibrancy and detail for years of normal use.
Previous
Best Fabrics for DTF Transfers: Complete Fabric Compatibility Guide
Next
How to Start a Custom T-Shirt Business with DTF Transfers in 2026
Shop Sublimation Transfers
View all
Ready to press your next design?
Shop premium DTF transfers and sublimation products. No minimums. Ships in 2-3 business days.
Browse All Products