No matter how good your transfer quality, the application process determines whether that transfer lasts for years or falls apart after a few washes. These ten mistakes are responsible for the overwhelming majority of DTF transfer failures. Fix these and your results will be dramatically more consistent.
Mistake 1: Skipping the Pre-Press
The pre-press is pressing the garment alone for 3–5 seconds before placing the transfer. It removes moisture and flattens wrinkles. Most beginners skip it because it adds 5 seconds per garment and seems unnecessary.
Why it causes problems: Fabric — even dry-feeling fabric — contains moisture at a level invisible to the eye. When you press a transfer onto damp fabric, the heat turns that moisture to steam. The steam has nowhere to go except up through the transfer, creating bubbles, hazing, and incomplete adhesion. On humid days, or with brand-new-out-of-bag blanks, this effect is significantly worse.
The fix: Pre-press every garment without exception. Make it a habit, not a judgment call. 5 seconds now saves you a ruined transfer later.
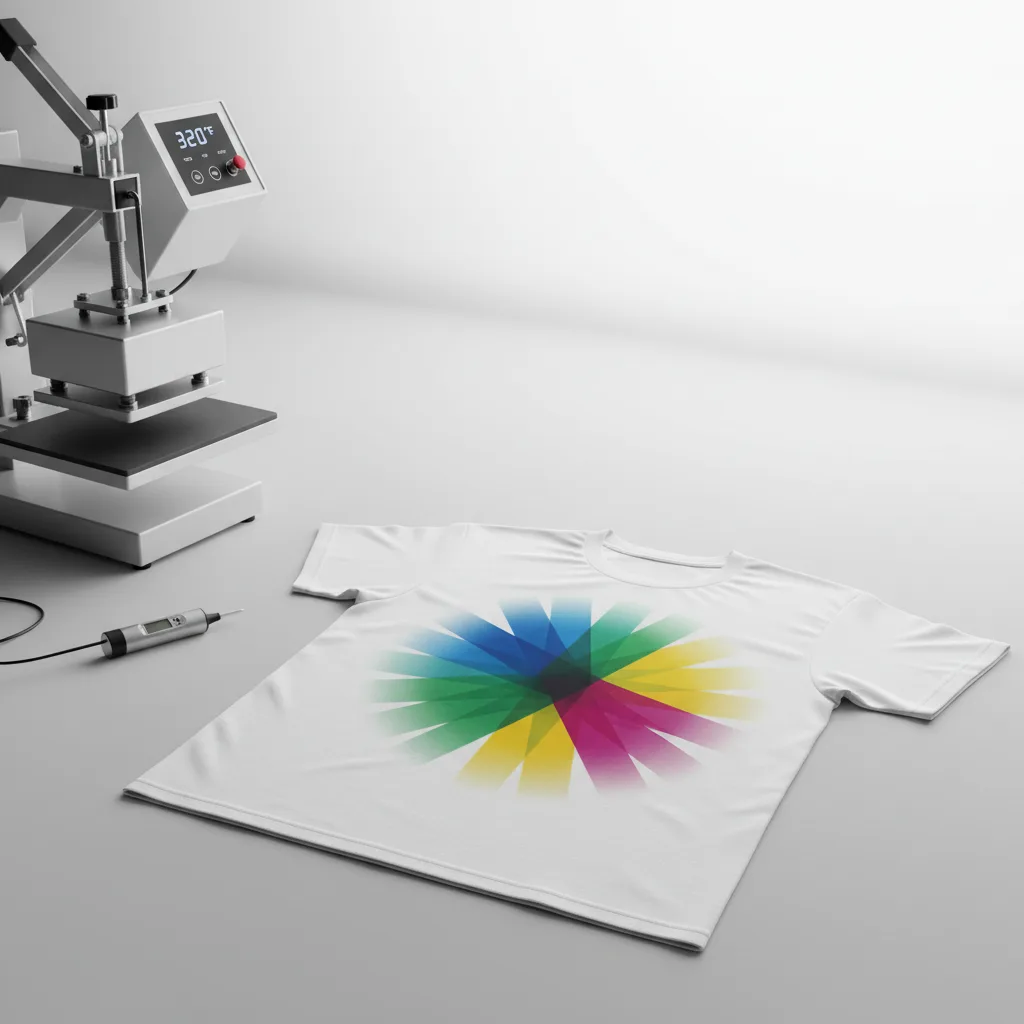
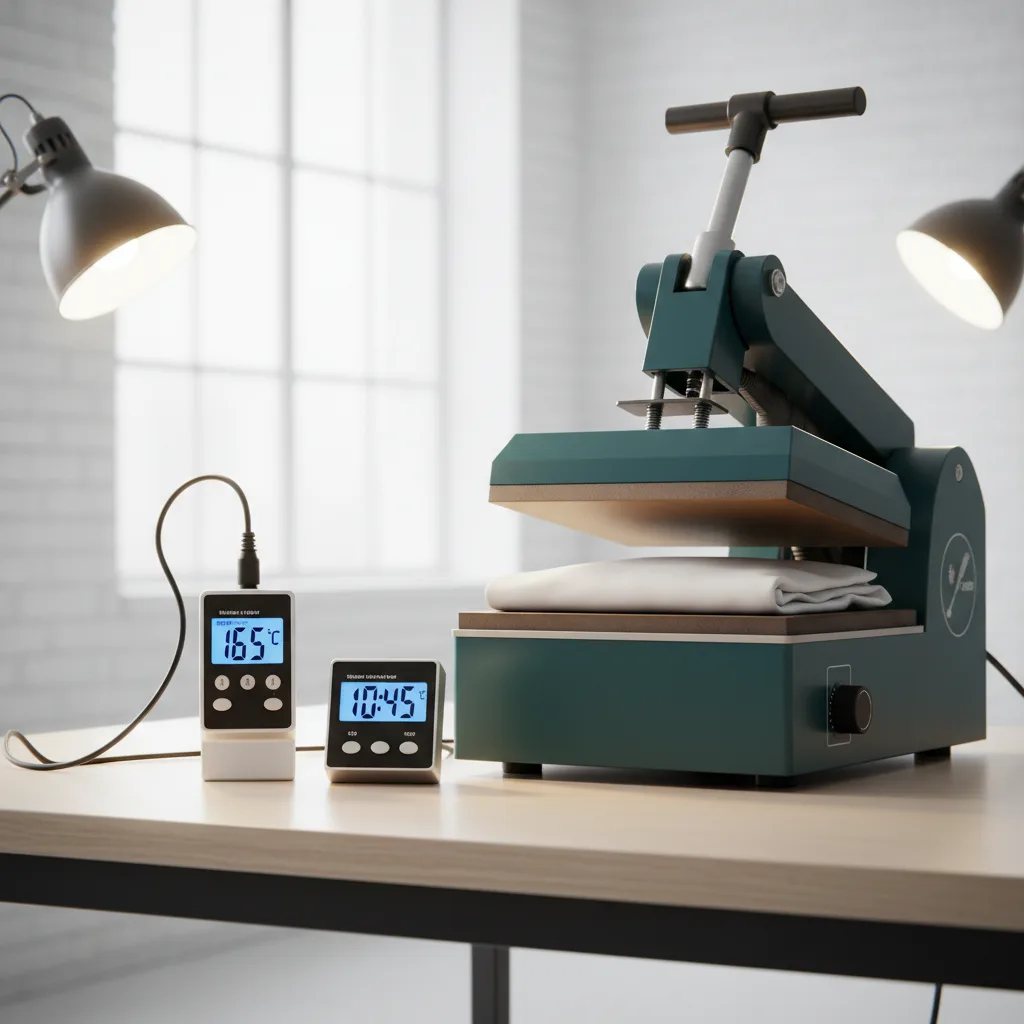
Mistake 2: Wrong Temperature
DTF transfers have a fairly narrow effective temperature window. Below that window, the adhesive does not fully activate. Above it, inks scorch and adhesive over-cures and becomes brittle.
The most common temperature mistake: Trusting your press's built-in thermometer without verification. Entry-level heat presses commonly read 15–30°F different from the actual platen temperature. If your press says 305°F but the platen is actually at 275°F, every single transfer you press will be under-bonded — and you will not know it until they start peeling after the first wash.
The fix: Purchase an infrared thermometer ($20–40) and verify your press temperature. Measure at the center and four corners of the platen. Note any offset and adjust your set temperature accordingly. Recalibrate any time you move your press or suspect it has drifted.
Mistake 3: Insufficient Pressure
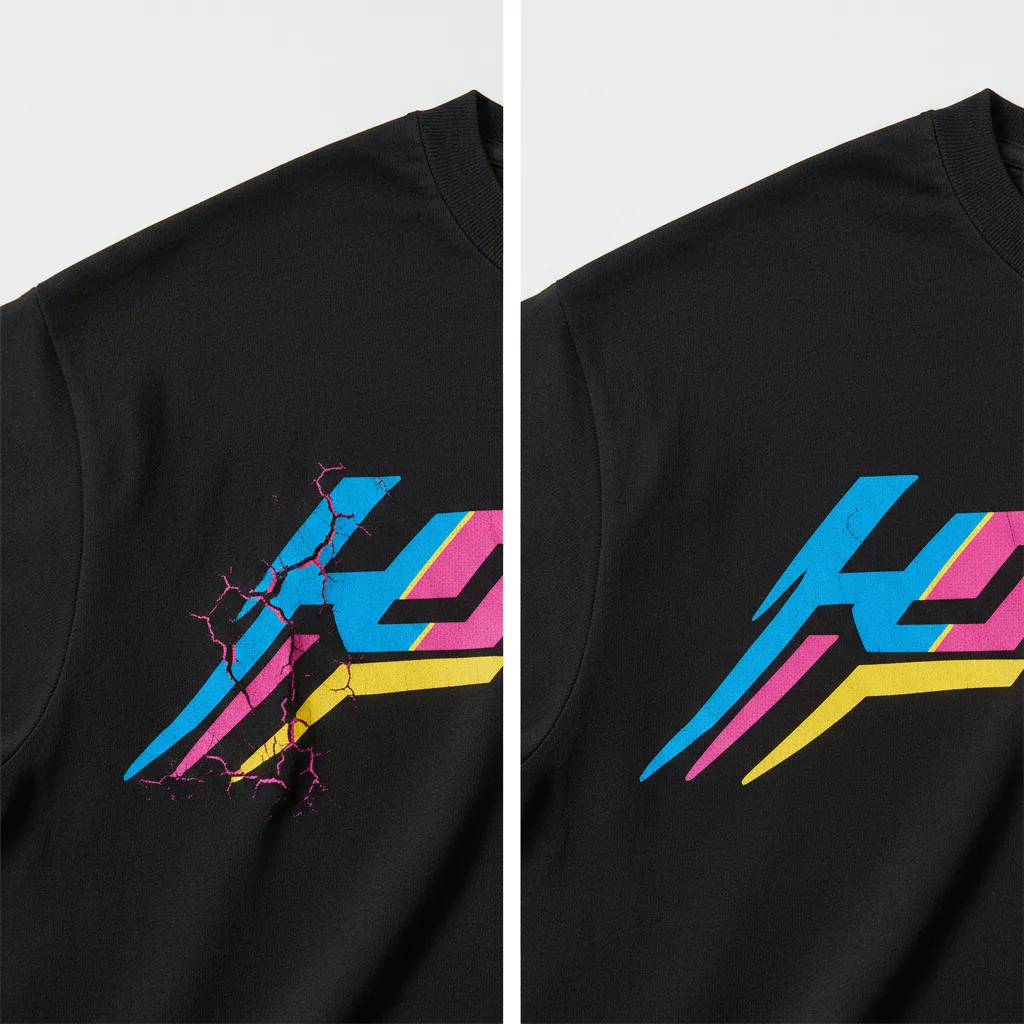
Pressure is the variable most beginners underestimate. Many new decorators use light pressure because they are worried about damaging the transfer or the garment. The result is a transfer that passes visual inspection but has a weak physical bond that fails early in the wash cycle.
What insufficient pressure looks like: The design appears fine right after pressing. After the first wash, edges begin lifting. After the third wash, large sections of the design are peeling away. This pattern is almost exclusively caused by insufficient pressure, regardless of whether temperature and time were correct.
The fix: Use medium-firm pressure — firm enough that you feel real resistance when closing the press, but not so extreme that the fabric crushes. On a press with a pressure adjustment knob, increase by one increment at a time until transfers stop lifting at edges after washing.
Mistake 4: Peeling Too Soon or Too Late
ColorFuse Prints transfers are cold peel. This means you wait 10–15 seconds after the press opens before peeling the film. Peeling too soon (while still very hot) causes ink to stay on the film instead of on the garment. Peeling too late (after fully cooling) can cause the adhesive to bond the film to the garment, making the peel feel excessively stiff and sometimes tearing fine design elements.
The fix: After the press opens, count 10–15 seconds. The garment should feel warm but not scalding. Peel slowly and steadily from one corner at a low angle — pull parallel to the fabric surface rather than straight up. If any ink starts to lift with the film, lay the film back down and re-press for 5 more seconds.
Mistake 5: Not Pre-Washing New Garments
Brand-new garments are treated with sizing, starch, and other finishing chemicals during manufacturing. These chemicals make the fabric look crisp and feel soft in the bag — but they create an invisible barrier between the DTF adhesive and the fabric fibers.
What it looks like: Transfers pressed on unsized fabric bond strongly. Transfers pressed on sized fabric feel initially bonded but the interface between adhesive and fabric fiber is compromised. Edge lifting after 2–5 washes is the telltale sign.
The fix: Pre-wash all new blanks before pressing. One wash removes sizing chemicals. Dry on low heat. This step adds a day to your production timeline for new inventory but dramatically improves transfer longevity.
Mistake 6: Pressing Over Seams and Hardware
Seams, zippers, pockets, buttons, and other hardware create uneven surfaces under the platen. When the platen presses down, it makes full contact everywhere except over these raised areas. The design over those raised spots receives much less pressure — sometimes essentially none — and fails to bond.
Examples: A left-chest design that overlaps a pocket seam. A full-front print that crosses the shirt's side seam at the bottom. Any design placed near a zipper track on a hoodie.
The fix: Position designs to avoid seams and hardware whenever possible. When overlap is unavoidable, use a silicone pressing pillow under the print area to create an even surface. Press with firm pressure and extra time (add 3–5 seconds) over areas with seam transitions.
Mistake 7: Skipping the Test Press
When you receive a new batch of transfers, start a new fabric type, or use a press after it has been moved or serviced, do a test press on a scrap piece of similar fabric before pressing your actual order. This one step costs you $1–3 in materials and catches problems before they ruin customer orders.
What test pressing catches: Temperature drift (your press settings drifted), new fabric type behaving differently than expected, a batch of transfers with slightly different requirements, transfer storage issues (humidity affects adhesive performance), and any other variable you did not anticipate.
The fix: Keep scrap fabric pieces near your press specifically for test presses. Test whenever something is new — new transfer batch, new fabric, new press settings, or just a return to production after time away.
Mistake 8: Wrong Fabric for Your Transfer Type
DTF transfers work on almost any fabric — but sublimation transfers do not. The most common confusion: a customer sends artwork, you order what turns out to be a sublimation transfer from a supplier, then try to press it on a dark cotton shirt. The result is a faded, muddy mess.
The distinction: DTF transfers have an opaque adhesive layer visible on the back of the film. Sublimation transfers are printed on paper (no adhesive layer) and require white/light polyester to work. Always verify you have DTF transfers (not sublimation) when pressing on dark or cotton garments.
The fix: Order explicitly from a source you trust. ColorFuse Prints clearly labels all DTF and sublimation transfers. If you receive a transfer and are not sure which type it is, check the back of the film — DTF will have a visible hot-melt adhesive layer; sublimation paper will not.
Mistake 9: Incorrect Design Placement
Inconsistent or off-center placement is one of the most visible quality problems in custom apparel. It immediately marks the product as amateurish, regardless of how well the transfer itself was pressed.
Standard placement guidelines for t-shirts:
- Center chest: Design centered horizontally, top edge 3–4 inches below the collar
- Left chest: Design centered over the left breast, 7–9 inches from left shoulder seam, 3–4 inches below collar
- Full front: Design centered horizontally, starts 3 inches below collar
- Back upper: Design centered, 3–4 inches below back collar seam
The fix: Use a t-square, ruler, or laser alignment tool to place every transfer consistently. For production runs, make a placement template from cardboard that locates the exact position for that design on that size garment. One template eliminates placement variation across the entire run.
Mistake 10: Poor Washing Instructions to Customers
You press a perfect transfer with correct settings and strong adhesion — and then the customer machine washes it in hot water and high-heat dries it 50 times. The transfer fails. The customer blames the product. You issue a refund. This scenario is preventable.
The fix: Include care instructions with every order. A printed card, a hang tag, or a brief message in your packing slip stating the correct washing instructions protects your product and your reputation. Customers who know how to care for their garment will have transfers that last for years. Customers who do not will damage them in weeks and blame you.
Avoiding these ten mistakes will not just improve your results — it will fundamentally change the quality and consistency of everything you produce. Most DTF transfer failures are preventable with better technique. Master these basics and your defect rate will drop to near zero.
Previous
DTF Gang Sheets Explained: How to Save Money on Bulk Transfers
Next
Best Fabrics for DTF Transfers: Complete Fabric Compatibility Guide
Shop DTF Transfers
View all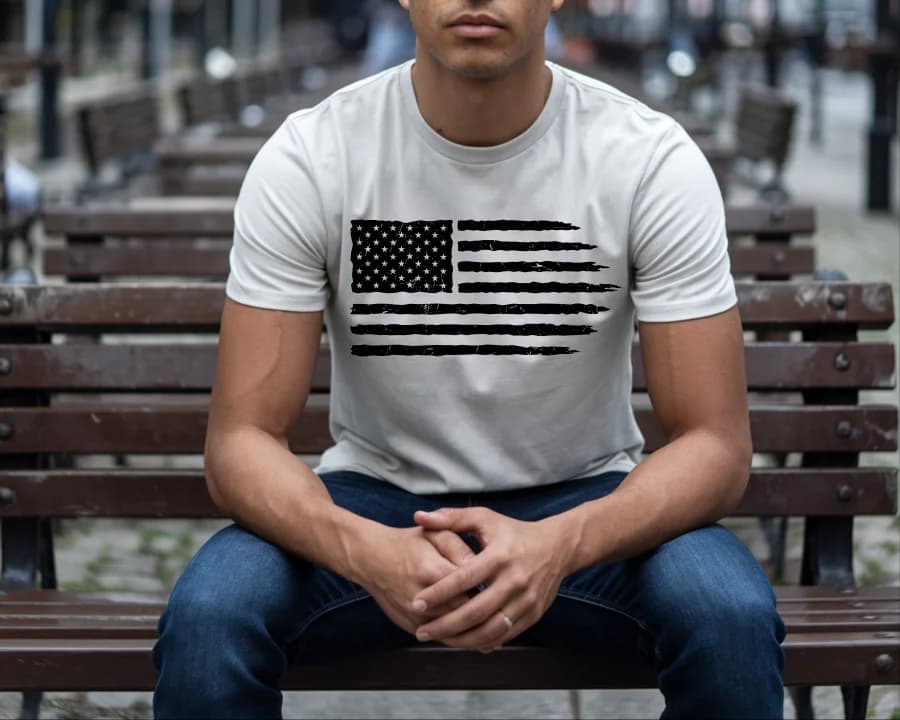
DTF Transfers
Grunge Flag
High Quality DTF Transfers, Ready to press Heat Transfers

DTF Transfers
Gamers Life Ready-To-Press DTF Transfer
High Quality DTF Transfers, Ready to press Heat Transfers

DTF Transfers
Rawa means I Love You
Rawa means I Love You -- Heat-applied DTF transfer for cotton, polyester, and any color fabric. Soft-feel finish, no weeding required.

DTF Transfers
I'm the funny elf
I'm the funny elf -- Heat-applied DTF transfer for cotton, polyester, and any color fabric. Soft-feel finish, no weeding required.
Ready to press your next design?
Shop premium DTF transfers and sublimation products. No minimums. Ships in 2-3 business days.
Browse All Products