Why Settings Matter So Much
DTF transfers are forgiving in many ways — they work on nearly any fabric, any color, any complexity of design. But they are not forgiving of wrong heat press settings. Temperature, time, and pressure work together as a system. Get any one of them wrong, and the transfer either does not bond fully (leading to peeling) or gets damaged from excessive heat (leading to cracked, discolored, or burned prints).
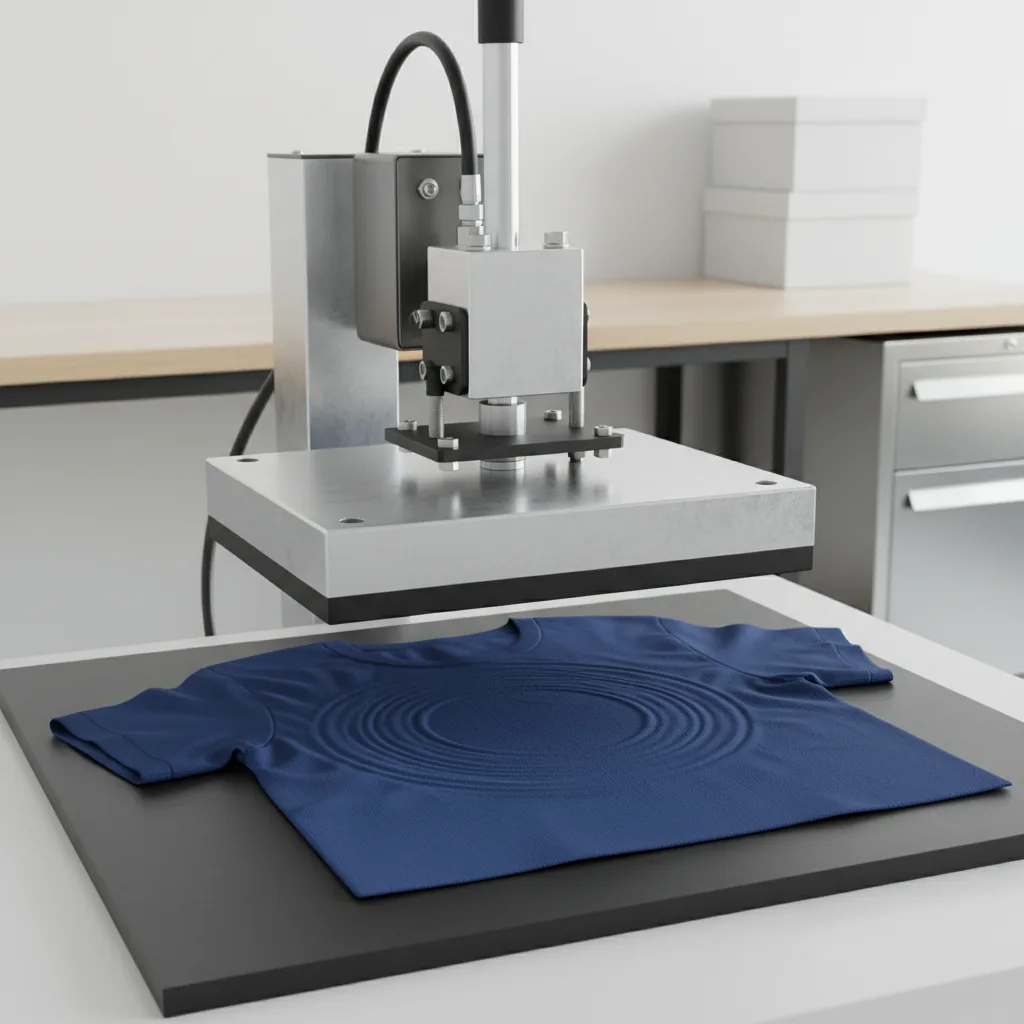
The adhesive in a DTF transfer is engineered to activate within a specific temperature and time window. Below that window, the adhesive does not fully melt and bond. Above it, the adhesive can over-cure, become brittle, and the inks can scorch or discolor. Pressure distributes the heat evenly across the design and pushes the adhesive into the fabric fibers for a strong mechanical bond.
Understanding these three variables and how they interact gives you the ability to dial in perfect results regardless of what fabric or press you are working with.
The Three Variables: Temperature, Time, and Pressure
Temperature
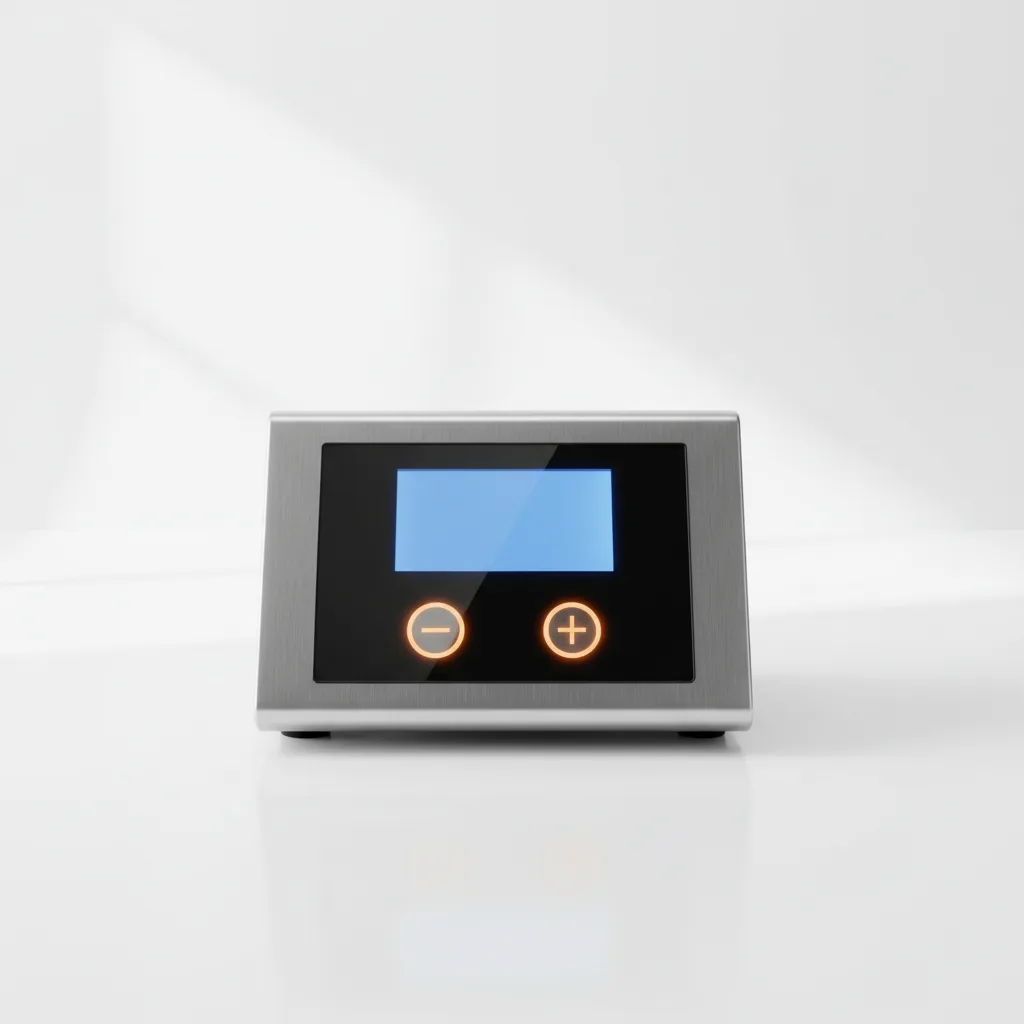
Temperature is the primary driver of adhesive activation. DTF hot melt adhesive begins to activate around 260°F and fully bonds in the 275–320°F range. The sweet spot for most DTF transfers on standard fabric is 300–310°F (149–154°C).
Going too low means incomplete adhesive activation — the transfer will appear bonded but the adhesive has not fully fused to the fabric. You may not notice the problem until the first wash, when the transfer begins to peel from the edges inward. Going too high risks scorching both the fabric (especially synthetics) and the inks themselves.
Time
Time determines how long the heat is applied. It works in tandem with temperature — a higher temperature can compensate for slightly shorter time, and a lower temperature may require more time to achieve the same level of adhesive activation. Standard time for DTF transfers is 10–15 seconds. Thicker fabrics and layered seams require more time because the fabric itself absorbs heat, slowing how quickly the adhesive reaches activation temperature.
Pressure
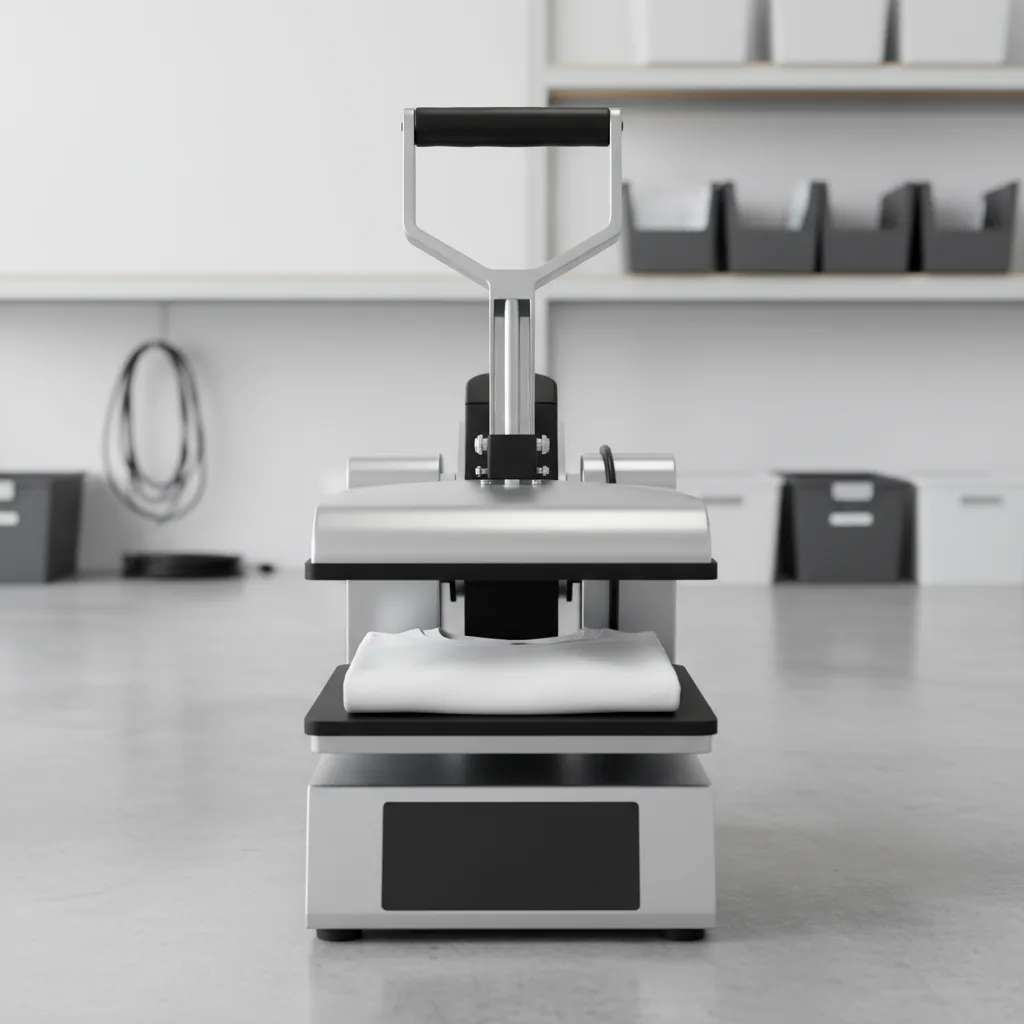
Pressure is the most misunderstood variable. Many beginners either apply too little pressure (thinking it will damage the design) or too much (thinking more is always better). Medium-firm pressure — roughly 40–60 PSI on a press with a gauge, or what feels like firm but not crushing hand pressure — is correct for most DTF applications.
Too little pressure: the adhesive does not get pushed into the fabric fibers, so the mechanical bond is weak even if the adhesive is fully melted. Edges lift and the transfer washes off early. Too much pressure: on fine fabrics like rayon or thin polyester, excessive pressure can crush the fibers and create a hard, stiff feel around the design area.
Settings by Fabric Type
| Fabric Type | Temperature | Time | Pressure | Notes |
|---|---|---|---|---|
| 100% Cotton (standard tee) | 305°F / 152°C | 12–15 sec | Medium-firm | Most forgiving fabric for DTF |
| 100% Polyester | 285–295°F / 141–146°C | 12 sec | Medium | Lower temp prevents scorching/glazing |
| 50/50 Cotton/Poly Blend | 295–305°F / 146–152°C | 12 sec | Medium-firm | Balance between cotton and poly needs |
| Heavy Fleece / Hoodie | 305°F / 152°C | 15 sec | Firm | Extra time for heat to penetrate thick fabric |
| Nylon | 270–280°F / 132–138°C | 10 sec | Light-medium | Very heat-sensitive — test first |
| Canvas / Tote Bags | 305°F / 152°C | 15 sec | Firm | Dense weave needs extra time and pressure |
| Denim | 305°F / 152°C | 15 sec | Firm | Dense material — firm pressure essential |
| Tri-blend (cotton/poly/rayon) | 285–295°F / 141–146°C | 12 sec | Medium | Rayon is heat sensitive — stay lower |
Calibrating Your Heat Press
One of the most important things you can do as a decorator is verify that your heat press is actually reaching the temperature it claims to be at. In testing, entry-level heat presses often read 15–30°F higher or lower than the actual platen temperature. Pressing at what you think is 305°F but is actually 275°F will give you consistently under-bonded transfers.
How to Calibrate
- Purchase a non-contact infrared thermometer (available for $20–40) or heat press calibration strips
- Set your press to 300°F and allow it to fully stabilize (5+ minutes after the ready light comes on)
- Measure the platen temperature at the center and at least 4 corner points
- Note the difference between your press reading and the actual measured temperature
- Adjust your set temperature accordingly
For example: if your press reads 305°F but actual platen temperature is 280°F, you need to set it to 330°F to achieve an actual temperature of 305°F. Note this offset and apply it to all your pressing.
Hot Spots and Cold Spots
Cheap heat presses often have uneven heating — the center may be significantly hotter than the edges. This causes inconsistent adhesion across a large design. On a 12x10-inch press, the edges may be 20–30°F cooler than the center, which means the outer portions of a large design do not bond properly while the center does.
If you consistently have edge lifting on large designs despite correct settings, a hot/cold spot imbalance in your press is likely the cause. Higher-quality commercial presses have more even heat distribution.
Problems Caused by Wrong Settings
Edges Lifting After First Wash
Most likely cause: Temperature too low or pressure insufficient.
The adhesive activated but did not fully bond to the fabric fibers. The transfer passes initial visual inspection but the bond is weak. The first wash — especially with warm water — breaks it down.
Fix: Increase temperature by 5°F and/or pressure, re-test.
Transfer Appears Cloudy or Has a White Haze
Most likely cause: Moisture in the fabric or insufficient temperature to drive off moisture before the adhesive set.
Fix: Pre-press longer (7–10 seconds) to fully dry the fabric before applying the transfer.
Design Has Scorched or Discolored Areas
Most likely cause: Temperature too high, especially on polyester or synthetic blends.
Fix: Reduce temperature by 10–15°F. If pressing on a foam-backed material, high heat compresses the foam and causes an uneven surface.
Ink Looks Dull or Faded
Most likely cause: Temperature too high, burning the ink layer.
Fix: Lower temperature. DTF inks, like all inks, have a maximum heat tolerance beyond which they begin to degrade.
Transfer Feels Stiff or Rubbery
Most likely cause: Pressure too high, compressing too much adhesive into the fabric, or temperature too high causing over-cure.
Fix: Reduce pressure and/or temperature slightly. Perform a finishing press with a Teflon sheet after peeling, which can help soften the texture.
How to Test Press Before Production
Before pressing your actual customer order or a garment you care about, always do a test press on a similar fabric scrap using a scrap or inexpensive transfer. This is especially important when:
- You are using a new fabric type for the first time
- You are using a new heat press for the first time
- You have not pressed in a while and need to verify your press is still calibrated correctly
- You are pressing a high-value or irreplaceable item
A test press costs you a few dollars in materials and a minute of time. Ruining a customer's order costs you far more in replacement product, refunds, and reputation.
Settings FAQ
Do I need to adjust settings for a design with a white background vs no background?
No. DTF transfer settings are the same regardless of the amount of white ink or the design complexity. The adhesive layer is uniform across the entire transfer area.
Can I press two transfers on top of each other?
DTF transfers can be layered — for example, a front design and a back design pressed sequentially. When pressing a second transfer near a previously pressed area, cover the first design with a Teflon sheet to protect it from direct heat. The Teflon sheet distributes heat and prevents the already-pressed design from getting over-cured.
Should I press from the inside of the garment after application?
The finishing press is done from the outside with a Teflon sheet. Pressing from the inside after application does not add any benefit for DTF transfers (unlike some sublimation applications). Always press from the outside.
My press does not have a pressure gauge. How do I know if my pressure is right?
Close the press on a piece of paper placed between the platens. If you can pull the paper out without tearing, pressure is too low. If you cannot pull it at all, pressure is too high. A slight resistance when pulling is the target.
Previous
How to Wash and Care for DTF Transfer Shirts: Complete Care Guide
Next
How to Press DTF Transfers: Step-by-Step Instructions for Perfect Results
Shop DTF Transfers
View all
DTF Transfers
Grunge Flag
High Quality DTF Transfers, Ready to press Heat Transfers

DTF Transfers
Gamers Life Ready-To-Press DTF Transfer
High Quality DTF Transfers, Ready to press Heat Transfers

DTF Transfers
Rawa means I Love You
Rawa means I Love You -- Heat-applied DTF transfer for cotton, polyester, and any color fabric. Soft-feel finish, no weeding required.

DTF Transfers
I'm the funny elf
I'm the funny elf -- Heat-applied DTF transfer for cotton, polyester, and any color fabric. Soft-feel finish, no weeding required.
Ready to press your next design?
Shop premium DTF transfers and sublimation products. No minimums. Ships in 2-3 business days.
Browse All Products