
EasyPress vs a Real Heat Press: The Honest Difference
Every week a new crafter emails us the same question: "I already own a Cricut EasyPress -- do I really need to buy a clamshell heat press to use your DTF transfers?" The short answer is no, you do not need to buy anything new to get started. The longer answer is that a Cricut EasyPress is a heated plate you push down on a shirt, not a calibrated commercial press. That distinction matters more than the marketing suggests.
A traditional clamshell heat press delivers three things automatically: even temperature across the whole platen, consistent downward pressure via a lever or auto-open arm, and a precise timer that starts the moment you close the lid. An EasyPress delivers accurate temperature and a timer, but the pressure is whatever your arms provide. That is the entire game with DTF transfers -- pressure is what melts the adhesive powder into the fibers of the shirt.
If you understand that trade-off and are willing to lean into the press with real body weight, you can get commercial-quality results from an EasyPress. If you press lightly with one hand while scrolling your phone with the other, you will get lifting corners, cracked prints, and blame the transfer. Almost every "my DTF is peeling" complaint we troubleshoot with EasyPress owners traces back to insufficient pressure.
Cricut EasyPress DTF Settings (What Actually Works)
ColorFuse Prints films are formulated to press at 300F for 15 seconds with medium-firm pressure. That spec is the same whether you are using a $2,000 auto-open press or a Cricut EasyPress on your kitchen island. Here is how to translate our spec sheet into EasyPress language.
Temperature
Set the EasyPress to 300F. If your EasyPress 2 tops out at 400F, do not crank it higher hoping for a stronger bond. Overheating DTF ink dulls the colors, makes the print stiff, and can scorch cotton fibers. If your model only offers preset temperatures, choose the option closest to 300F (usually 305F or the "iron-on" preset).
Time
Set the timer for 15 seconds. The EasyPress beeps and the plate stays hot -- do not lift it early. If you see the film shifting or the corners lifting during the press, you did not use enough pressure to begin with.
Pressure
This is where crafters lose the war. Cricut markets the EasyPress as needing only "gentle pressure," which is fine for their branded iron-on vinyl. DTF is different. You want firm, sustained, two-handed downward pressure -- lean into it with your shoulders, not just your wrists. If your press hand is not tired after a full production day, you are underpressing.
Surface
Use a hard, flat surface. A folded towel on a countertop is fine. An ironing board is not -- it flexes under pressure and gives inconsistent results. Cricut sells an EasyPress mat that helps, but a hard cutting board wrapped in a pillowcase works just as well.
Peel Type
ColorFuse films are cold peel. Let the garment cool for at least 30 seconds after the initial press, then peel the film off in one smooth motion at a low angle. If the print lifts with the film, stop, lay the film back down, and press again for another 10 seconds.
How to Press DTF With a Cricut EasyPress
Here is the exact sequence we walk beginners through. Follow it in order and your first transfer will look like your fiftieth.
Step 1: Preheat the Garment
Set the EasyPress to 300F. Press the blank shirt for 5 to 7 seconds with no transfer on it. This removes moisture, flattens seams, and gets the fabric up to temperature. Wrinkles under a DTF transfer will crack the print within a few washes.
Step 2: Position the Transfer
Place the DTF transfer ink side down, film side up on the shirt. Use a T-square or the shirt seam as a guide. Cover the entire transfer with a piece of parchment paper, a Teflon cover sheet, or the silicone cover sheet that shipped with your press.
Step 3: Press With Real Pressure
Set the timer for 15 seconds. Place the EasyPress flat on the transfer and press down hard with both hands, arms locked. Do not rock it side to side. Do not slide it around. If your press is smaller than the design, press one half for 15 seconds, then reposition and press the other half for 15 seconds with a 2-inch overlap.
Step 4: Cool and Peel
Lift the press straight up. Let the garment sit undisturbed for at least 30 seconds -- the film should feel just barely warm to the touch. Peel the film off in one smooth, low-angle motion. Not straight up. Peel it back like removing a Band-Aid.
Step 5: Post-Press
Cover the design with the parchment or Teflon sheet again and press for another 10 seconds at 300F. This step is what separates a wash-durable transfer from one that peels after three cycles. Skip it and you will regret it by week two.
EasyPress Models Compared for DTF Use
Not every EasyPress model is equal for DTF work. Here is how they stack up for real-world transfer sizes.
| Model | Plate Size | DTF Verdict | Best For |
|---|---|---|---|
| EasyPress Mini | 3.25 x 1.5 in | Not practical for full transfers | Small patches, hats, sleeves, seams |
| EasyPress (6x7) | 6 x 7 in | Works for infant and toddler sizes only | Onesies, small pocket designs |
| EasyPress 2 (9x9) | 9 x 9 in | Solid for youth and small adult transfers | Youth S-XL, adult pocket designs |
| EasyPress 2 (12x10) | 12 x 10 in | Best all-around for adult DTF work | Adult S-3XL, most standard transfers |
| EasyPress 3 (9x9) | 9 x 9 in | Same as EasyPress 2 with Bluetooth | Youth and pocket adult work |
| Autopress | 12 x 10 in | Excellent -- actually a real heat press | Adult and oversize transfers up to 12 in |
For most crafters ordering from our DTF transfer catalog, the 12x10 EasyPress 2 is the sweet spot. It covers our 10-inch and 11-inch adult sizes in a single press with a bit of overlap for our 12-inch transfers. If you plan to sell shirts, upgrading to the Cricut Autopress or a dedicated clamshell press pays for itself quickly.
Common Issues and How to Fix Them
Every problem below has the same root cause about 80% of the time: pressure. Read that sentence twice before troubleshooting anything else.
Corners Are Lifting After Peel
You underpressed the edges. Lay the film back down (or use fresh parchment if the film is gone) and press the corners for another 10-15 seconds with extra downward force. Most EasyPress plates have slightly cooler edges, so the perimeter always needs a little more time.
Print Feels Rough or Cracks When Stretched
Either your temperature was too high, you skipped the post-press, or the shirt was not preheated. Try again on a scrap tee with the full sequence in our heat press settings tool.
Ink Transferred But the Film Won't Peel Cleanly
You peeled hot. ColorFuse films are cold peel -- wait until the film is barely warm before removing. If it is stubborn, walk away for another minute.
Design Looks Faded or Milky
Not enough pressure. The adhesive did not fully melt into the fibers. Repress with the parchment sheet on top for 15 more seconds, leaning in hard.
Design Shifted During Press
You rocked the press instead of holding it flat. Place, press straight down, hold still, lift straight up. No sliding.
When to Upgrade to a Real Heat Press
The EasyPress is a fine on-ramp. It is not a forever tool if you plan to sell shirts. Here are the tipping points that tell you it is time to buy a proper clamshell or swing-away press.
You Are Pressing More Than 10 Shirts a Week
The physical effort of leaning into an EasyPress adds up. A clamshell press with an auto-open arm cuts your active time per shirt roughly in half and eliminates arm fatigue entirely.
You Are Doing Full-Front Adult Prints
Anything above 12 inches means overlapping presses, and overlap seams are where DTF transfers fail first. A 15x15 clamshell fits any standard transfer we ship in a single press.
You Sell at Markets or Take Custom Orders
If someone is paying you $25-$40 for a shirt, they expect commercial durability. A $200-$400 dedicated press turns "hobby quality" into "shop quality" overnight. It is also the moment when our custom order and wholesale DTF catalog start making financial sense.
The Bottom Line
Yes -- a Cricut EasyPress presses DTF transfers. It has real limits, but for a home crafter making shirts for family, small Etsy orders, or a side hustle under a shirt a day, it is more than enough. Follow the 300F/15-second spec, use firm two-handed pressure, always post-press, and treat cold peel as gospel. Do those four things and your EasyPress will earn its keep for a long time.
When you are ready to graduate, do it because the volume demands it, not because you are chasing better transfers. The film we send you performs the same either way. Ready to test it? Browse our ready-to-press DTF transfers or check the full FAQ for more troubleshooting.
Frequently Asked Questions
Can I press DTF transfers with a Cricut EasyPress 2?
Yes. The 9x9 and 12x10 EasyPress 2 models handle DTF transfers well at 300F for 15 seconds with firm two-handed pressure. Always follow with a 10-second post-press after cold peeling for wash durability.
What temperature should I set my Cricut EasyPress for DTF?
Set it to 300F. Do not go higher -- excessive heat dulls the colors and can scorch the fabric. If your model only has preset temperatures, choose the setting closest to 300F, usually the 305F or "iron-on" option.
Why is my DTF transfer peeling off after washing?
Almost always insufficient pressure or skipping the post-press. The EasyPress relies entirely on your body weight for pressure, so lean in hard with both hands and always repress the design for another 10 seconds after peeling the film.
Can the Cricut EasyPress Mini press DTF transfers?
Only for very small designs -- think patches, hat logos, or single letters on sleeves. It is too small and delivers uneven heat for standard adult or youth transfers. Use it for touch-ups and hard-to-reach spots, not full designs.
Do I need a Teflon sheet or parchment paper when pressing DTF with an EasyPress?
Yes, always cover the transfer during pressing. Parchment paper works fine and is cheap. It prevents scorching, protects the plate from any adhesive residue, and gives a smoother finish. Use it again during the post-press step.
Is a Cricut EasyPress good enough to start a DTF t-shirt business?
For a home-based side hustle producing under 10 shirts a week, yes. Once you cross that volume or start selling full-front adult prints, upgrade to a clamshell heat press or the Cricut Autopress -- your arms will thank you and the results become more consistent.
Previous
Craft Fair Setup for DTF Sellers: Booth, Pricing, and Payment
Next
Custom Heat Transfers with No Minimum: How Small-Batch DTF Works
Shop DTF Transfers
View all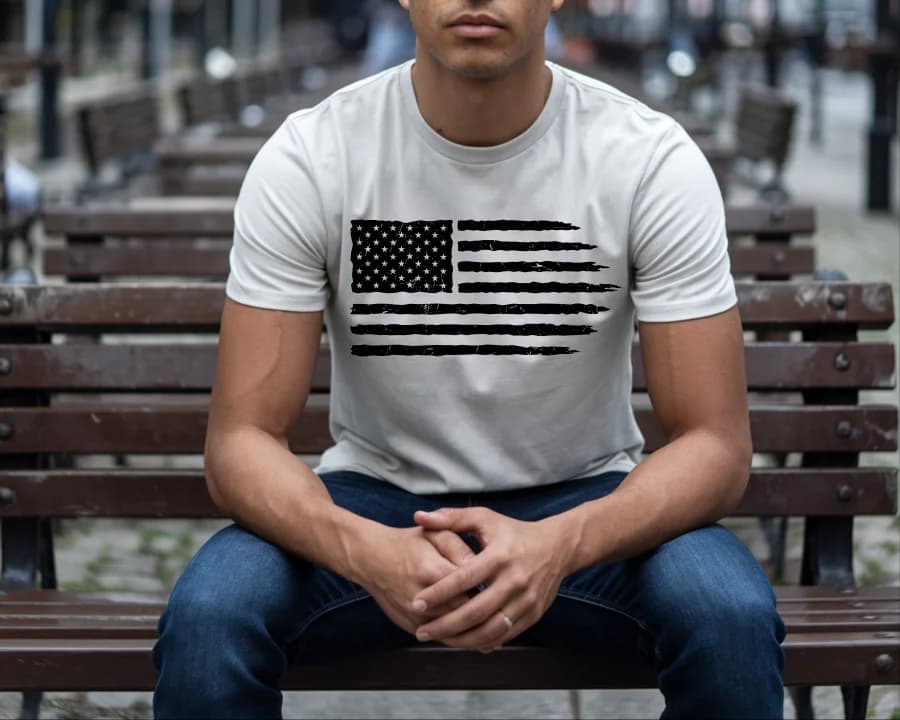
DTF Transfers
Grunge Flag
High Quality DTF Transfers, Ready to press Heat Transfers
DTF Transfers
Gamers Life Ready-To-Press DTF Transfer
High Quality DTF Transfers, Ready to press Heat Transfers
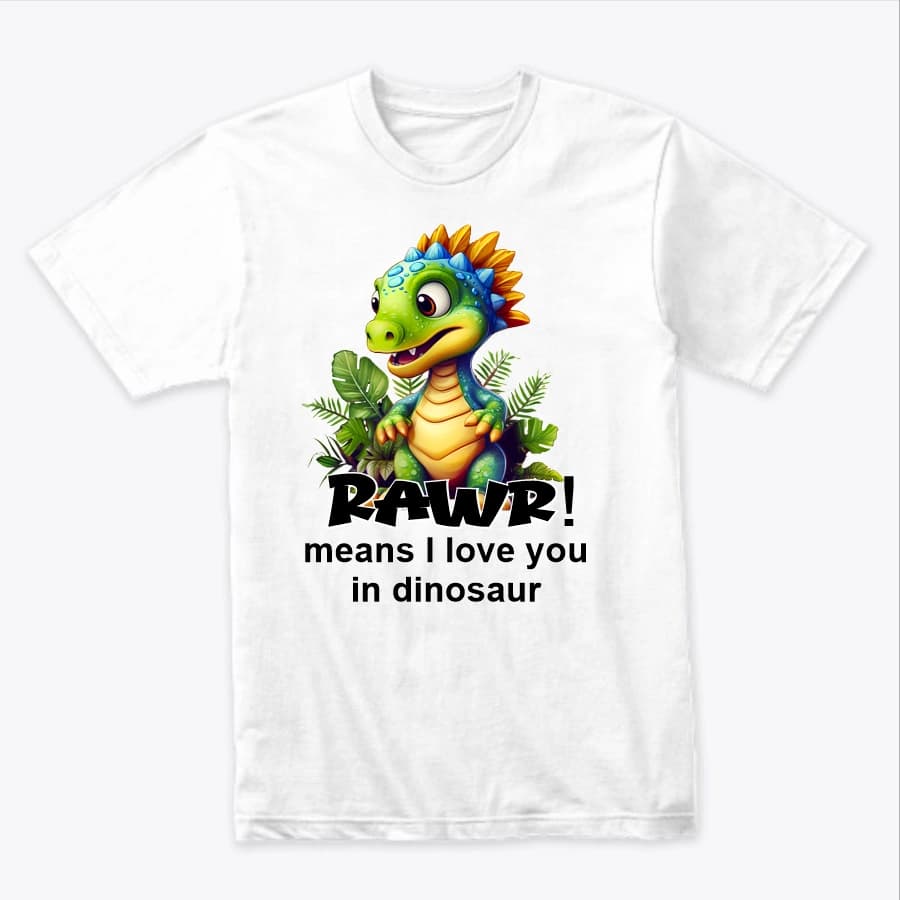
DTF Transfers
Rawa means I Love You
Rawa means I Love You -- Heat-applied DTF transfer for cotton, polyester, and any color fabric. Soft-feel finish, no weeding required.
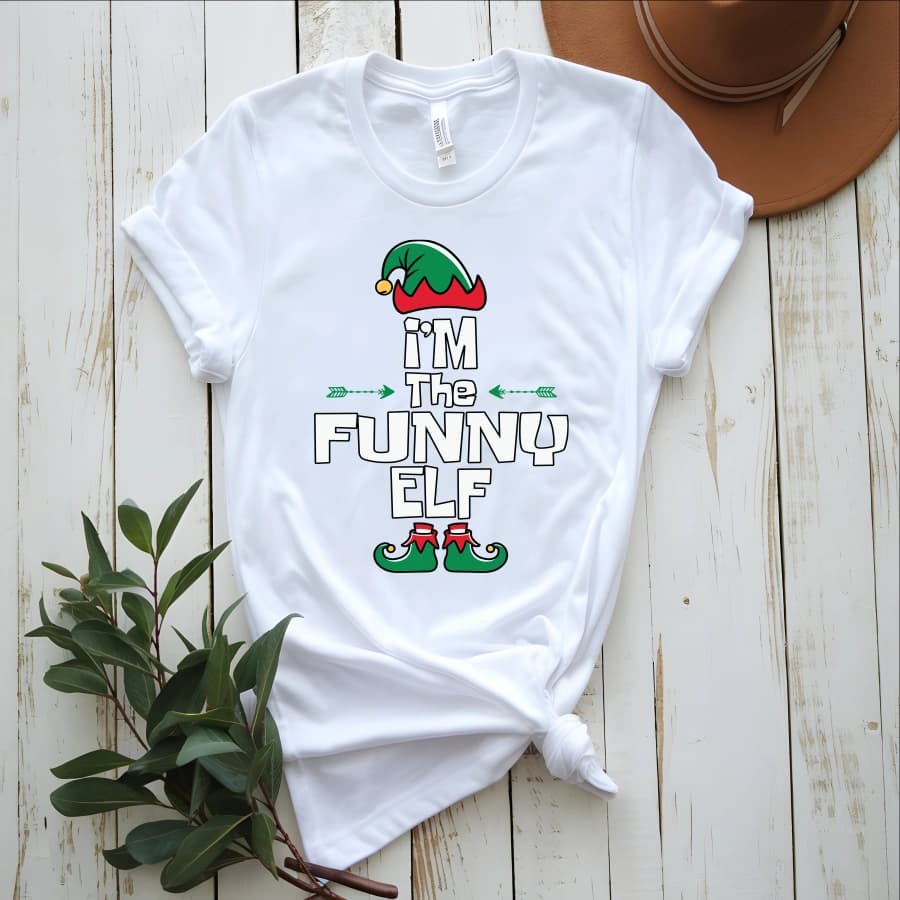
DTF Transfers
I'm the funny elf
I'm the funny elf -- Heat-applied DTF transfer for cotton, polyester, and any color fabric. Soft-feel finish, no weeding required.
Ready to press your next design?
Shop premium DTF transfers and sublimation products. No minimums. Ships in 2-3 business days.
Browse All Products