
Before You Book the Booth
Not every craft fair is worth your time. Before you write the check for a booth fee, ask the organizer three questions: expected foot traffic, whether they cap the number of apparel vendors, and whether the venue provides electricity. If the answer to any of those is "we do not know," pass on it or treat the first year as a test with minimal inventory.
Local church bazaars, school PTO fairs, and small-town holiday markets typically pull 300-1,500 shoppers. Regional maker markets and county fairs can push 5,000-20,000. Your inventory plan and booth footprint should scale to match. A first-time seller at a giant regional show will sell out of popular sizes by lunchtime and then stand there watching money walk by.
Read your vendor contract carefully. Some fairs require a resale certificate, some collect sales tax on your behalf, and some require you to remit it yourself. Your state's comptroller website has the forms. Do not skip this step because craft fair organizers will absolutely report vendor lists to state tax agencies.
Booth Size and What Fits
Standard indoor booths are 10x10 feet, though church halls often shrink to 8x8 or even 6x8. Outdoor tents follow the same 10x10 standard. A 6-foot table plus a garment rack plus a checkout station eats every inch of a 10x10, so measure your setup at home before you commit.
Booth Layout That Actually Sells
The biggest mistake new DTF sellers make is treating a craft fair booth like a flea market -- big folding table across the front, product piled in stacks, seller sitting behind it. Shoppers walk past that in three seconds. Retail-style layouts pull them in.
Push your table to one side or the back, not straight across the aisle. Leave the front open so shoppers can step into your booth. People who cross the threshold buy at roughly 3x the rate of people who shop from the aisle. That single change matters more than any sign, banner, or display piece.
The Three Zones
Zone 1 -- Eye-level display. This is what pulls people in from the aisle. Two or three pressed samples on shirt forms, mannequins, or a wire garment rack at eye height (roughly 60-66 inches). Never fold your best designs into a stack -- shoppers cannot see a folded shirt from six feet away.
Zone 2 -- Browse zone. Bins, baskets, or a low table with shirts folded by design and clearly labeled by size. This is where shoppers who took the bait dig through your inventory. Include a small mirror if you have room.
Zone 3 -- Checkout. A small side table or the corner of your main table with your payment device, bags, receipt book, and a business card holder. Keep it clear of product so customers can set down what they are buying.
Signage That Does the Selling
Your booth needs three signs. A large business-name banner across the top or back wall (fabric banners roll up smaller than vinyl). A pricing sign for your headline items ("Adult Tees $25 -- 3 for $65"). And a small "How this shirt is made" card next to your samples that mentions the transfer type, fabric, and care instructions. Educated shoppers buy more confidently.
What to Display and What to Hide
Bring your best 8-12 designs, not your entire catalog. Overwhelming shoppers with 40 SKUs paralyzes them. Focus on themed collections that match the fair -- Christmas designs for a November holiday market, family monograms for a spring craft show, sports and mascot shirts for a fall bazaar in a football town.
Hide the operations. Store your restock inventory, empty totes, water bottles, snacks, and personal bag under the table with a fitted tablecloth that reaches the floor. Every visible cardboard box makes your booth read as amateur. A $12 tablecloth is the highest-ROI purchase you will make.
Live Demos Are Optional but Powerful
If the venue has electricity and allows heat presses, running live pressing demos every 30-45 minutes stops traffic. You do not need to press live to sell -- most vendors do not -- but a folding table with a small heat press pressing blank tote bags or infant onesies while people watch is memorable. Skip this if the fair is crowded and you would be pressing while trying to ring up sales; you cannot do both well alone. For reference on your press specs, our heat press settings tool covers time, temperature, and pressure by transfer type.
Pricing DTF Shirts for Craft Fairs
Craft fair pricing is not the same as online pricing. Shoppers are paying in cash or tap-to-pay, they want round numbers, and they compare you to the vendor two booths down. Price for the venue, not for your Etsy store.
Your all-in cost per finished shirt with a wholesale blank and a DTF transfer usually lands around $6-$10 depending on shirt brand and transfer size. Craft fair retail should be 3-4x that cost, minimum. If you cannot get to that markup, either your blank cost is too high or your designs are not niche enough. Wholesale-priced DTF transfers keep your cost-of-goods down enough that the math works.
The Whole-Dollar Rule
Price everything in whole dollars, ideally divisible by 5. $25, $30, $35, $20. Never $24.99 or $27.50. Two reasons: making change out of a cash box is slow and error-prone, and shoppers who see $24.99 mentally round to $25 anyway. Whole-dollar pricing also speeds your checkout line during rush hour, which directly increases how many transactions you can process before the fair closes.
Include sales tax in your posted price when your state allows it. Most craft-fair states do. "Tax included" printed on your price sign removes friction at checkout because the number the shopper sees is the number they pay.
Bundle Pricing Doubles Average Order Size
Almost every craft fair shopper who buys one shirt will buy two if you make the math obvious. "1 for $25, 2 for $45, 3 for $65" printed on your headline sign shifts average order value up by roughly 40-60% at most fairs. The bundle discount costs you a few dollars per shirt and picks up units you would not have sold at all.
Price Anchor Table
Use these as starting points for a typical craft fair in the US. Adjust up 15-25% for regional fairs in higher-cost metros, and slightly down for very rural or church bazaar settings.
| Product | Your Cost (est.) | Solo Price | Bundle Price |
|---|---|---|---|
| Infant onesie (DTF) | $5-$7 | $18 | 2 for $32 |
| Toddler tee (DTF) | $6-$8 | $20 | 2 for $36 |
| Youth tee (DTF) | $7-$9 | $22 | 2 for $40 |
| Adult tee (DTF) | $8-$10 | $25 | 2 for $45, 3 for $65 |
| Adult sweatshirt (DTF) | $14-$18 | $40 | 2 for $75 |
| 15oz sublimation mug | $4-$6 | $18 | 2 for $32 |
| 20oz sublimation tumbler | $10-$14 | $30 | 2 for $55 |
| Canvas tote bag (DTF) | $5-$7 | $20 | 2 for $35 |
Taking Payment Without Wifi Panic
Venue wifi will fail. Cell signal in metal-roofed convention halls will drop to one bar. Plan for both. A craft fair booth that only takes cards is a craft fair booth that stops selling the moment the router hiccups.
The Three-Payment Stack
1. Cash. Always. Start the day with $150-$200 in fives, tens, and ones. A small locking cash box or a zippered pouch clipped to your belt beats an open drawer that anyone can reach into. Whole-dollar pricing means you rarely need coins.
2. A tap-to-pay reader. Square, Stripe Terminal, PayPal Zettle, and Clover all sell handheld readers in the $50-$150 range that take chip, tap, and swipe. Set up two payment providers if you can -- if Square goes down mid-day (it happens), switching to a backup reader saves the sale.
3. Direct app payment (offline capable). Venmo, Cash App, Zelle, and PayPal all let shoppers pay from their phone using a QR code you display. Print two QR code signs -- Venmo and Cash App cover most of the US shopper base. These work even when your card reader has no signal, because the shopper's phone uses their own cell data.
Offline Card Payments
Square and a few other providers offer an "offline mode" that stores card transactions on your device and syncs them when signal returns. Enable it in your app settings the night before the fair. Read the fine print -- Square, for example, caps offline transaction totals and disclaims liability if a stored card later declines. Use it as a safety net for the occasional dropped-signal moment, not as your primary flow.
Receipts and Records
Every card and app payment generates a digital receipt automatically. For cash sales, keep a simple carbon-copy receipt book with a numbered ticket for each transaction, or just tally cash sales on a notepad by hour. You need this for sales tax reporting, and if a shopper comes back tomorrow with a defective shirt you can look up what they bought.
Handling Custom Orders at the Booth
At every craft fair you will get asked "Can you put my kid's name on this?" or "Do you do team shirts?" Custom orders taken at the booth are a real revenue channel, but only if you have a clean process. Fumbling with someone's phone and a napkin loses the sale.
Print a stack of custom-order forms with fields for name, phone, email, garment size/color, design description, deadline, and quoted price. Take a 50% deposit at the booth using the same payment methods above, hand them a copy of the form, and put the original in a "custom orders" folder. Give a realistic turnaround -- usually 7-14 business days from the fair -- and stick to it.
Direct people who want to browse designs online later to your custom order page and hand them a business card with your website and the design themes they were most interested in written on the back. That written note dramatically increases the odds they follow up.
Inventory: What to Bring and How Much
The right inventory number is "roughly 1.5x what you honestly think you will sell." Running out at 2pm on a Saturday when the fair goes until 6pm is the most expensive mistake at a craft fair -- every shirt you would have sold at $25 is gone forever, and shoppers tell their friends "she was already sold out."
Size Distribution
For adult tees, a reasonable starting mix is:
- Small: 10-15%
- Medium: 20-25%
- Large: 25-30%
- XL: 20-25%
- 2XL: 10-15%
- 3XL and up: 5-10% (charge $3-$5 more)
Medium and Large sell out first at every fair. Bring extra. Track what sizes and designs sell after each event and adjust the mix over your first three fairs -- your local market will show you a pattern quickly.
Blank Sourcing and Pre-Pressing
Pre-press as many finished shirts as you have time for the week before the fair. Trying to press to order at the booth with a line of shoppers is a stress spiral. If you use unpressed blanks plus loose transfers, you are doubling your labor per sale and shoppers cannot see what the finished product looks like. Keep loose transfers only for custom orders.
For your top three or four bestselling designs, consider stocking multiple garment colors. The same design on a black tee, an ash grey tee, and a heather blue tee will often outsell three completely different designs on the same color blank.
Day-of Checklist
Print this and tape it to the inside of your supplies tote:
- Table, tablecloth (floor-length), two folding chairs
- Garment rack, hangers, at least two shirt forms or mannequins
- Business banner, pricing signs, "How this shirt is made" card, business cards
- Cash box with $150-$200 in small bills, receipt book, notepad, pens
- Card reader (charged), backup reader if you have one, USB battery pack
- Venmo and Cash App QR code signs (laminated, on stands)
- Phone charger, extension cord, power strip (if venue allows)
- Inventory sorted by size in labeled bins
- Custom order forms and a folder
- Bags for purchases (paper or reusable, branded if possible)
- Water bottle, snacks, layers -- venues run cold or hot with no in-between
- Small first-aid kit, safety pins, scissors, tape
- Copy of your vendor contract and sales tax permit
Arrive at load-in early. Sellers who set up calmly and finish 20 minutes before doors open are the ones who greet the first wave of shoppers with a smile. Sellers still fumbling with a garment rack at showtime lose the crucial first hour.
Bringing It All Together
The craft fair sellers who come home with a full cash box are not the ones with the flashiest designs or the biggest booths -- they are the ones who made it easy for shoppers to walk in, see something they wanted, understand the price instantly, and pay however they wanted to pay. Everything in this guide is in service of that flow.
If you are just building your inventory and want to compare transfer options for booth-ready shirts, the DTF transfers shop and sublimation shop both work well for craft fair volume with no minimums. For faith-based markets and church bazaars specifically, the Christian collection is a strong starting inventory. Any questions on pressing, ordering, or turnaround live on the FAQ page.
Previous
Christmas DTF Transfer Ideas: 25 Bestsellers for Holiday Sales
Next
Cricut EasyPress and DTF Transfers: Does It Actually Work?
Shop DTF Transfers
View all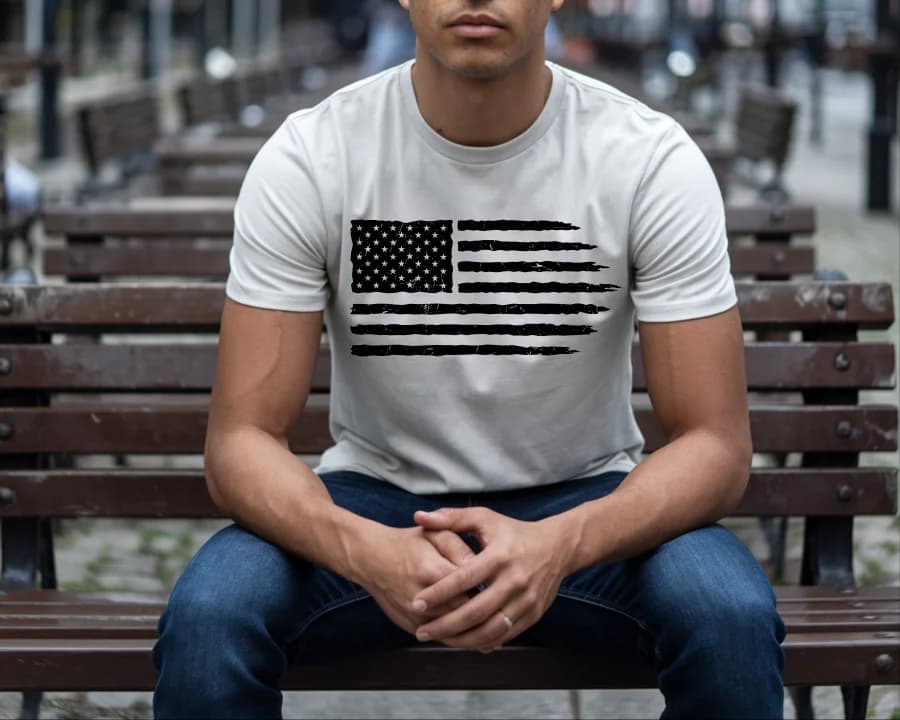
DTF Transfers
Grunge Flag
High Quality DTF Transfers, Ready to press Heat Transfers
DTF Transfers
Gamers Life Ready-To-Press DTF Transfer
High Quality DTF Transfers, Ready to press Heat Transfers
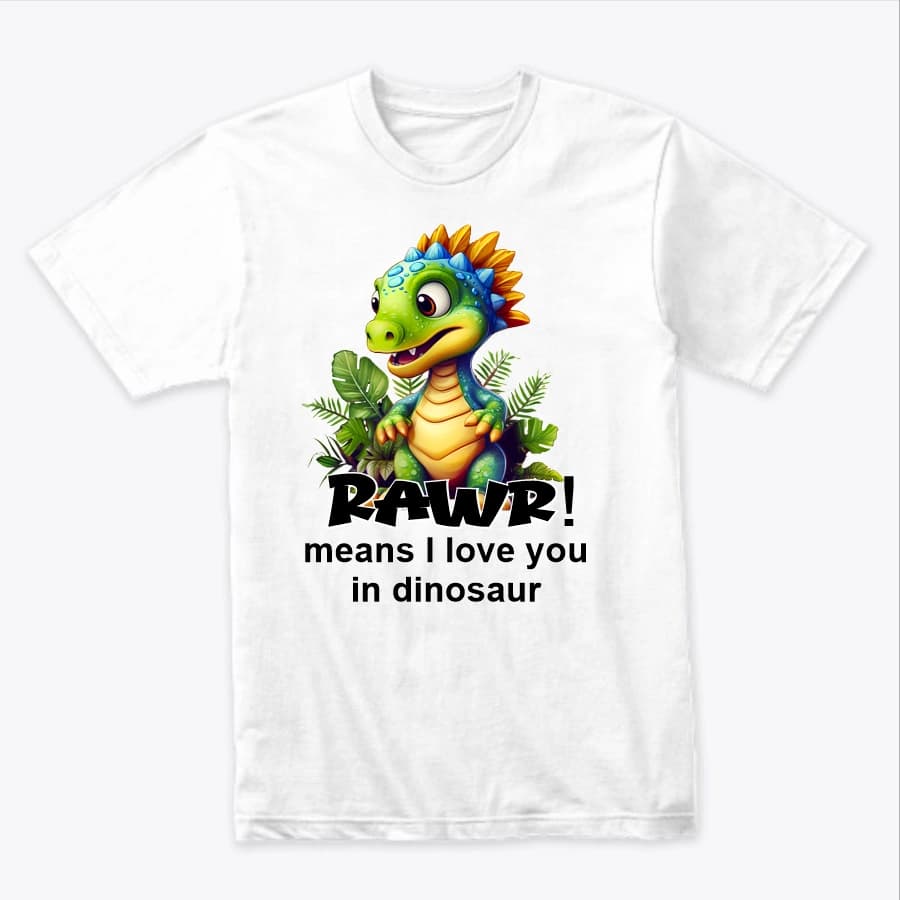
DTF Transfers
Rawa means I Love You
Rawa means I Love You -- Heat-applied DTF transfer for cotton, polyester, and any color fabric. Soft-feel finish, no weeding required.
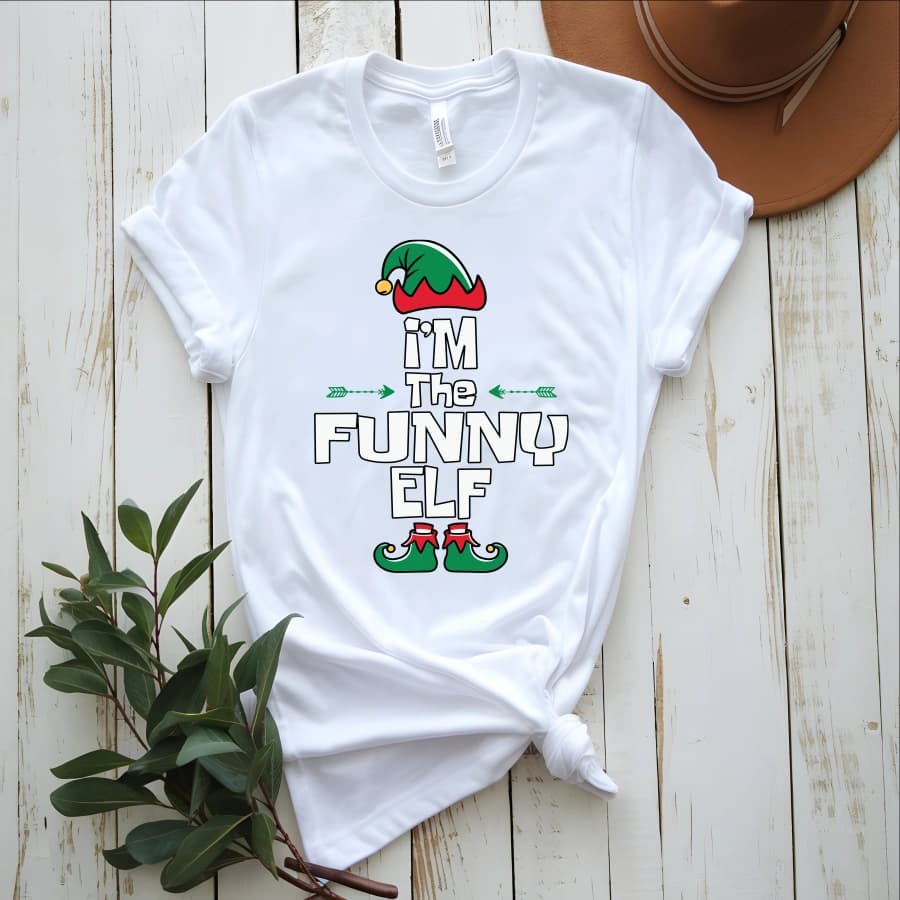
DTF Transfers
I'm the funny elf
I'm the funny elf -- Heat-applied DTF transfer for cotton, polyester, and any color fabric. Soft-feel finish, no weeding required.
Ready to press your next design?
Shop premium DTF transfers and sublimation products. No minimums. Ships in 2-3 business days.
Browse All Products