Table of Contents
> **TL;DR:** Layered DTF transfers let you press multiple designs on one shirt -- like a chest logo, sleeve hit, and back print -- in a single garment build. Press each placement one at a time at 300F for 15 seconds, cover previous prints with a Teflon sheet or parchment when pressing nearby, and always cold peel unless the transfer specifically says otherwise.
## What Layered DTF Actually Means
The phrase "layered DTF transfers" gets used two different ways in the DTF community, and mixing them up leads to bad prints. The first meaning is **multi-placement layering** -- pressing separate transfers on different parts of the same shirt (chest, sleeve, back, pocket). This is what most crafters, Etsy sellers, and small brands mean when they ask about layering.
The second meaning is **stacked-ink layering** -- pressing one DTF transfer directly on top of another to build a raised or multi-material look. This is niche, harder to get right, and almost never necessary because a single DTF transfer already includes full-color CMYK plus white underbase in one pass.
This guide focuses on the first meaning, because it is what actually drives real sales and repeat customers: front-and-back prints, sleeve accents, and pocket hits that make a shirt look boutique instead of homemade.
## When Layering Makes Sense
Not every design needs multiple hits. Layering adds cost, time, and press cycles, so it should serve a purpose. Here are the situations where stacking transfers is worth the effort:
- **Brand consistency** -- A small chest logo plus a large back graphic reads as a real brand rather than a one-off tee.
- **Sports and team apparel** -- Player name and number on the back, team crest on the chest, sponsor on the sleeve.
- **Event merch** -- Front artwork with a sleeve date or hashtag, or a back roster of names for wedding parties and reunions.
- **Personalization upcharges** -- Adding a name, number, or monogram to a stock design lets you charge more per unit without redesigning the main graphic.
- **Storytelling designs** -- A quote on the front and a related image on the sleeve creates a conversation piece.
If your design is a single centered graphic and you are trying to force a second placement just to look fancy, skip it. A clean single hit outperforms a cluttered layered shirt every time.
## Layered vs Single-Press Comparison
Before you commit to a layered build, it helps to see the tradeoffs side by side.
| Factor | Single-Press DTF | Layered / Multi-Placement DTF |
|---|---|---|
| Press cycles per shirt | 1 | 2 to 4 |
| Time per shirt | 15 to 20 seconds | 45 to 90 seconds |
| Perceived value | Standard | Premium / boutique |
| Risk of scorching | Low | Moderate -- needs cover sheet |
| Alignment difficulty | Easy | Requires measuring or a jig |
| Best for | High-volume basic tees | Brand merch, teams, gifts |
| Typical price bump | Baseline | +$3 to +$8 per shirt |
The layered option adds real production time, but it also lets you charge more and stand out on marketplaces where every seller offers the same centered graphics.
## Planning Your Placements
Good layered shirts start on paper (or in a design app), not at the heat press. Before you order transfers, map out every hit.
### Standard Adult Placement Sizes
- **Left chest logo:** 3.5 to 4 inches wide, positioned 4 inches down from the shoulder seam and 4 inches in from the armhole
- **Full front:** 10 to 12 inches wide, centered, top edge about 3 inches below the collar
- **Full back:** 11 to 12 inches wide, centered, top edge about 4 inches below the collar
- **Sleeve hit:** 2.5 to 3.5 inches wide, centered on the sleeve about 2 inches above the hem
- **Pocket / hip hit:** 3 to 4 inches wide, positioned near the natural pocket line
### Order Transfers by Placement
When you order from a shop like [ColorFuse Prints DTF transfers](/shop/dtf-transfers), request each placement as its own transfer at the correct finished size. Do not order one giant sheet and try to trim between designs -- the film edges can leave shiny lines on the fabric where the adhesive is exposed.
For teams and repeat orders, keep a placement diagram in your production notes so every shirt looks identical. This is what separates a hobbyist from a brand.
## The Right Press Order
The order you press matters more than most guides admit. Get this wrong and you will either scorch an earlier print or leave the shirt looking uneven.
### Rule 1: Press the Back First
Always press the back before the front. Shirts naturally rest chest-up on a heat press, and if you press the front first you will end up flipping a hot, freshly-pressed shirt over onto the platen, which can scuff or shift the print. Back first means the finished, cold-peeled front is always on top and untouched during the last step.
### Rule 2: Press Large Before Small
Do the biggest transfer first (usually the back or full front), then step down in size. Big transfers are harder to align and unforgiving, so give them your first, most careful attempt. Small transfers like sleeve hits and pocket logos have more forgiving placement.
### Rule 3: Sleeves Get Their Own Setup
Sleeves need to be pressed flat on a sleeve platen or by carefully isolating just the sleeve on your main platen. Never press a sleeve with the body of the shirt bunched underneath -- the uneven pressure causes half-bonded, cracky prints that peel within a wash cycle.
### Rule 4: Cover Previous Prints
Once you have pressed one placement, cover it with a Teflon sheet, silicone pad, or piece of parchment paper any time it comes near the platen during a later press. Direct heat on a cured DTF print for a second full cycle can soften the adhesive and cause the edges to lift.
## Time, Temp, and Pressure Settings
ColorFuse Prints DTF transfers are engineered for a specific press window. Stick to it and you will get consistent results across every layer.
| Setting | Value | Notes |
|---|---|---|
| Temperature | 300F | Adjust down 10 degrees for delicate blends like tri-blend or rayon |
| Time | 15 seconds | Do not go longer to "make sure it sticks" -- overpressing weakens the film |
| Pressure | Medium-firm | About 40 to 60 psi on a digital press |
| Peel | Cold peel | Wait until the film is cool to the touch, then peel in a smooth motion |
| Post-press | 5 seconds with parchment | Optional, adds durability and softens the hand feel |
For a deeper walkthrough of temperature by fabric, use the interactive [heat press settings tool](/tools/heat-press-settings) -- it accounts for cotton, polyester, blends, and specialty fabrics like performance wear.
If a layered shirt has both DTF and [sublimation](/shop/sublimation) elements (rare but doable on white polyester), press sublimation first at 400F, let it cool completely, then apply DTF at 300F over a different area. Never press DTF on top of a sublimated area -- the polyester coating can interfere with adhesion.
## Common Layering Mistakes
Even experienced pressers hit these snags when they start stacking placements. Watch for them and your reject rate will drop fast.
### Mistake 1: Skipping the Cover Sheet
Pressing a sleeve hit while the chest logo sits on the lower platen exposes the finished print to another full heat cycle. Always cover cured prints with a Teflon sheet or parchment before the next press.
### Mistake 2: Guessing Placement
Eyeballing a chest logo works once, then produces 20 crooked shirts in a row. Use a placement ruler, a laser guide, or a printed alignment sheet. Consistency is what makes a brand look real.
### Mistake 3: Overpressing to "Make Sure"
DTF transfers cure in 15 seconds. Pressing for 25 or 30 seconds does not add strength -- it softens the adhesive, dulls the colors, and can cause the film to fuse to the shirt in a way that leaves a plastic sheen. Trust the timer.
### Mistake 4: Hot Peeling by Accident
Most DTF transfers are cold peel. If you peel while the film is warm, the ink can lift off the shirt or leave a stringy, uneven edge. Wait until the film is fully cool. If you are running a production line, stack pressed shirts and peel a batch at a time.
### Mistake 5: Ignoring Fabric Stretch
Ribbed collars, cuffs, and elastic hems will not hold a DTF print well. Keep every placement on the flat, stable part of the shirt body or sleeve. If a customer requests a print that crosses a seam, warn them that cracking is likely.
### Mistake 6: Layering on Textured Fabric
Waffle knits, French terry, and heavy fleece all layer poorly because the surface is not flat. Test one shirt before running a full order, and consider swapping to a smoother blank when possible. The [best fabrics for DTF](/shop/dtf-transfers) are ring-spun cotton, cotton-poly blends, and smooth-face polyester.
## Bringing It Together
Layered DTF transfers turn a $8 blank into a $30 boutique shirt when done right. The workflow is not complicated -- plan placements, order each transfer at final size, press back first, cover cured prints, hold to 300F for 15 seconds, and cold peel every time.
If you are running your first layered job for a client and want a second set of eyes on the placement sizes, reach out through the [custom order form](/custom-order). Rita and the team have pressed thousands of layered shirts for teams, weddings, small brands, and Etsy sellers, and can flag any design that will fight the process before you commit to blanks.
Previous
How to Sell Custom Shirts on eBay and Faire (Not Etsy)
Next
Sublimation Time and Temperature Chart for Every Blank
Shop DTF Transfers
View all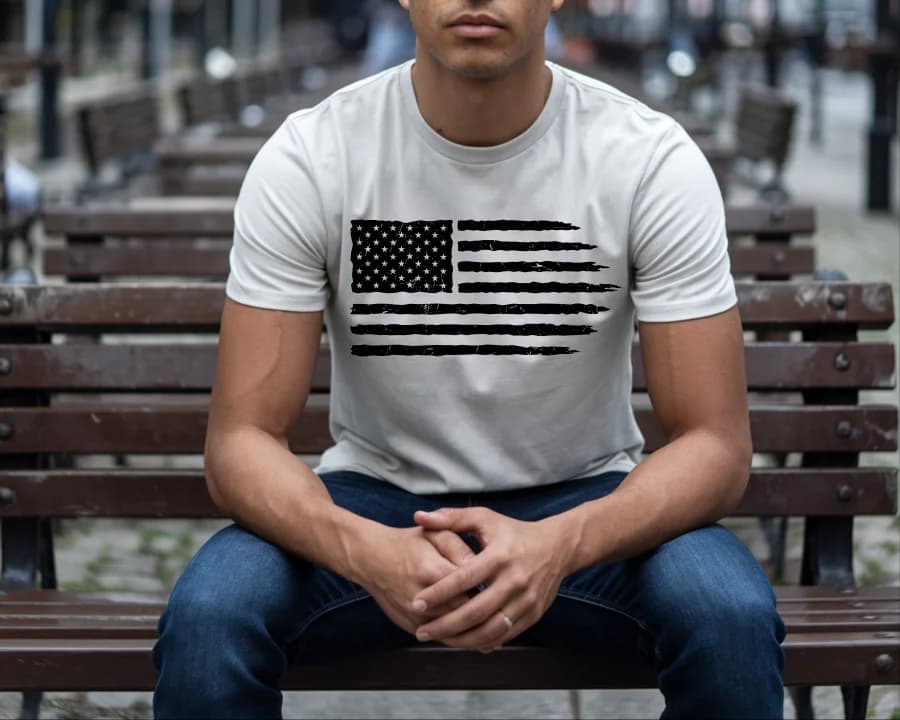
NEW
DTF Transfers
Grunge Flag
High Quality DTF Transfers, Ready to press Heat Transfers
$3.46
NEW
DTF Transfers
Gamers Life Ready-To-Press DTF Transfer
High Quality DTF Transfers, Ready to press Heat Transfers
$3.46
DTF Transfers
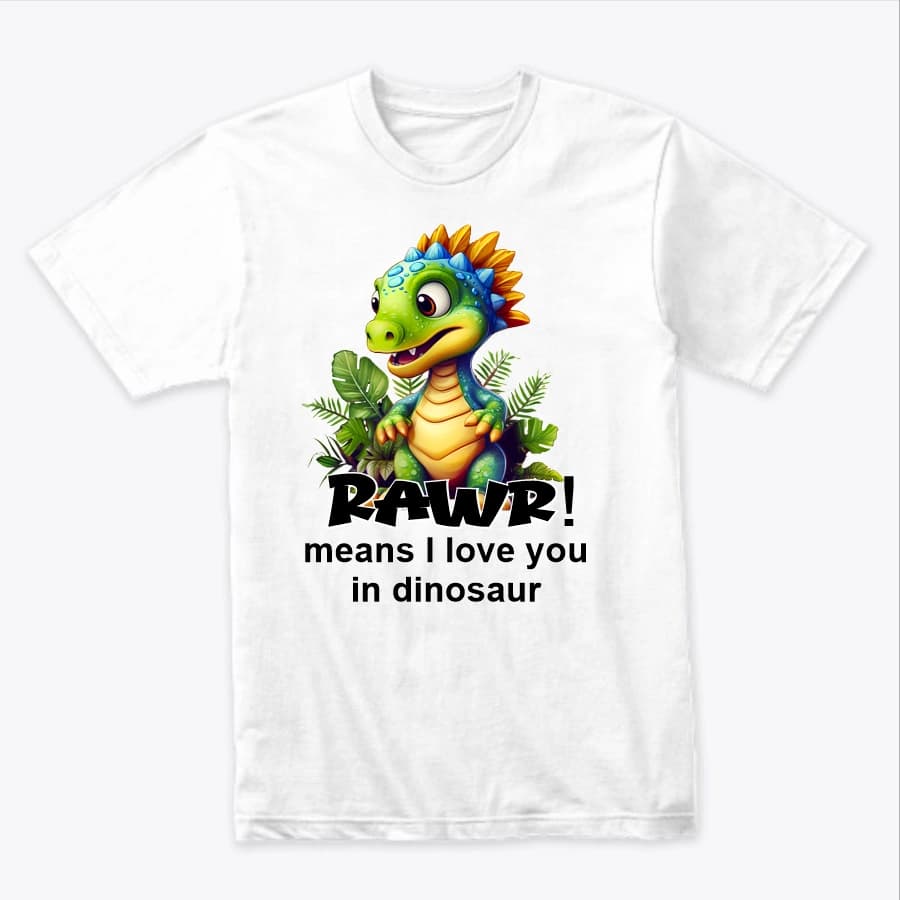
Rawa means I Love You
Rawa means I Love You -- Heat-applied DTF transfer for cotton, polyester, and any color fabric. Soft-feel finish, no weeding required.
$3.46
DTF Transfers
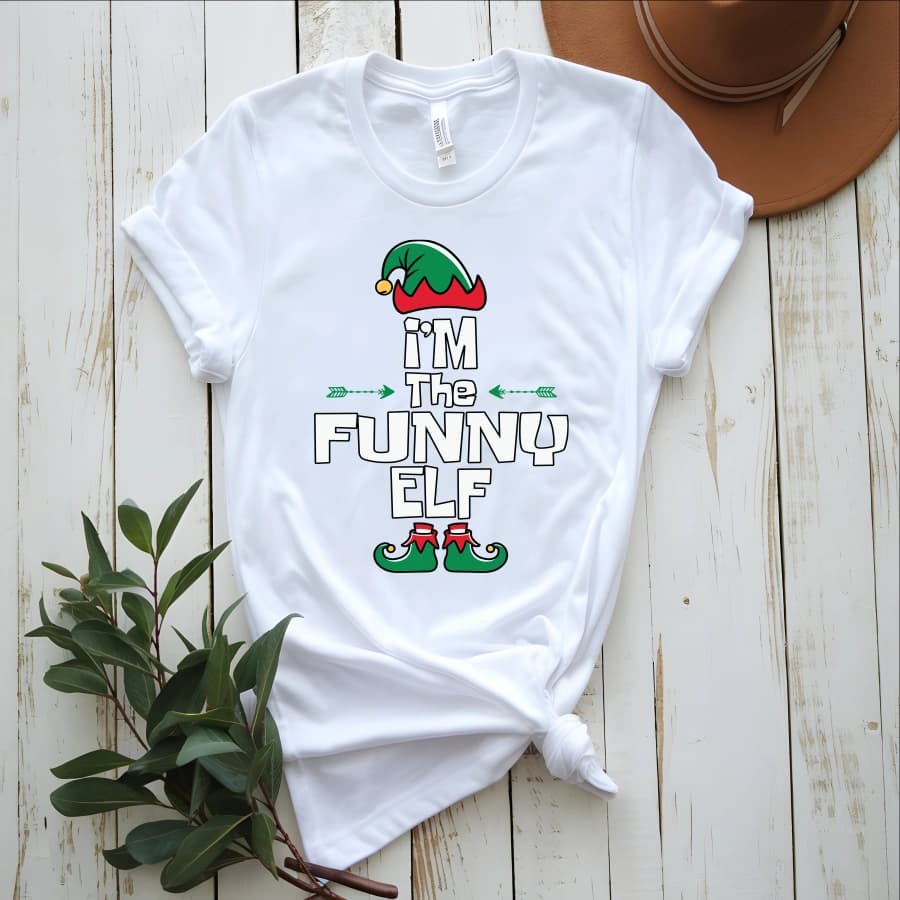
I'm the funny elf
I'm the funny elf -- Heat-applied DTF transfer for cotton, polyester, and any color fabric. Soft-feel finish, no weeding required.
$3.46
Ready to press your next design?
Shop premium DTF transfers and sublimation products. No minimums. Ships in 2-3 business days.
Browse All Products